In this guide, we’ll walk through the Sentry Project Creation page, highlighting each setting and explaining the options available when setting up your project.
Go to sentry.cloudresearch.com
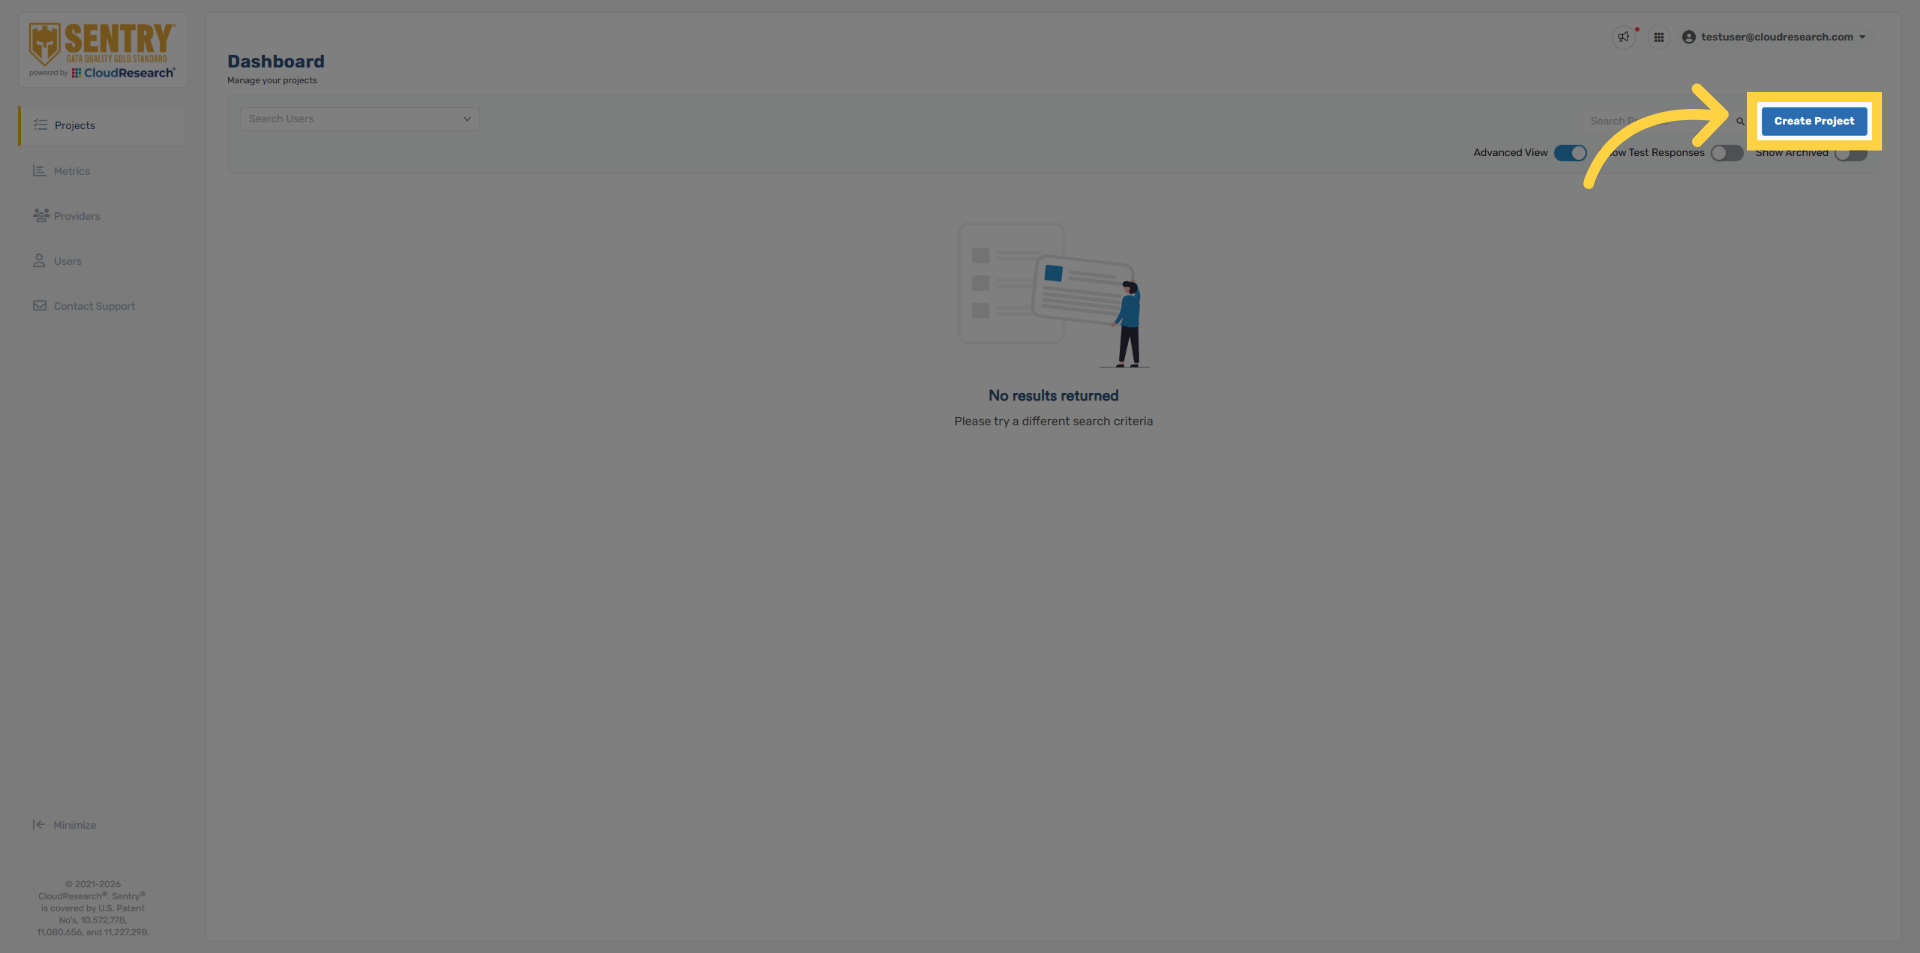
1. Select Create Project
To get started, click Create Project in the top right corner of the Sentry dashboard.
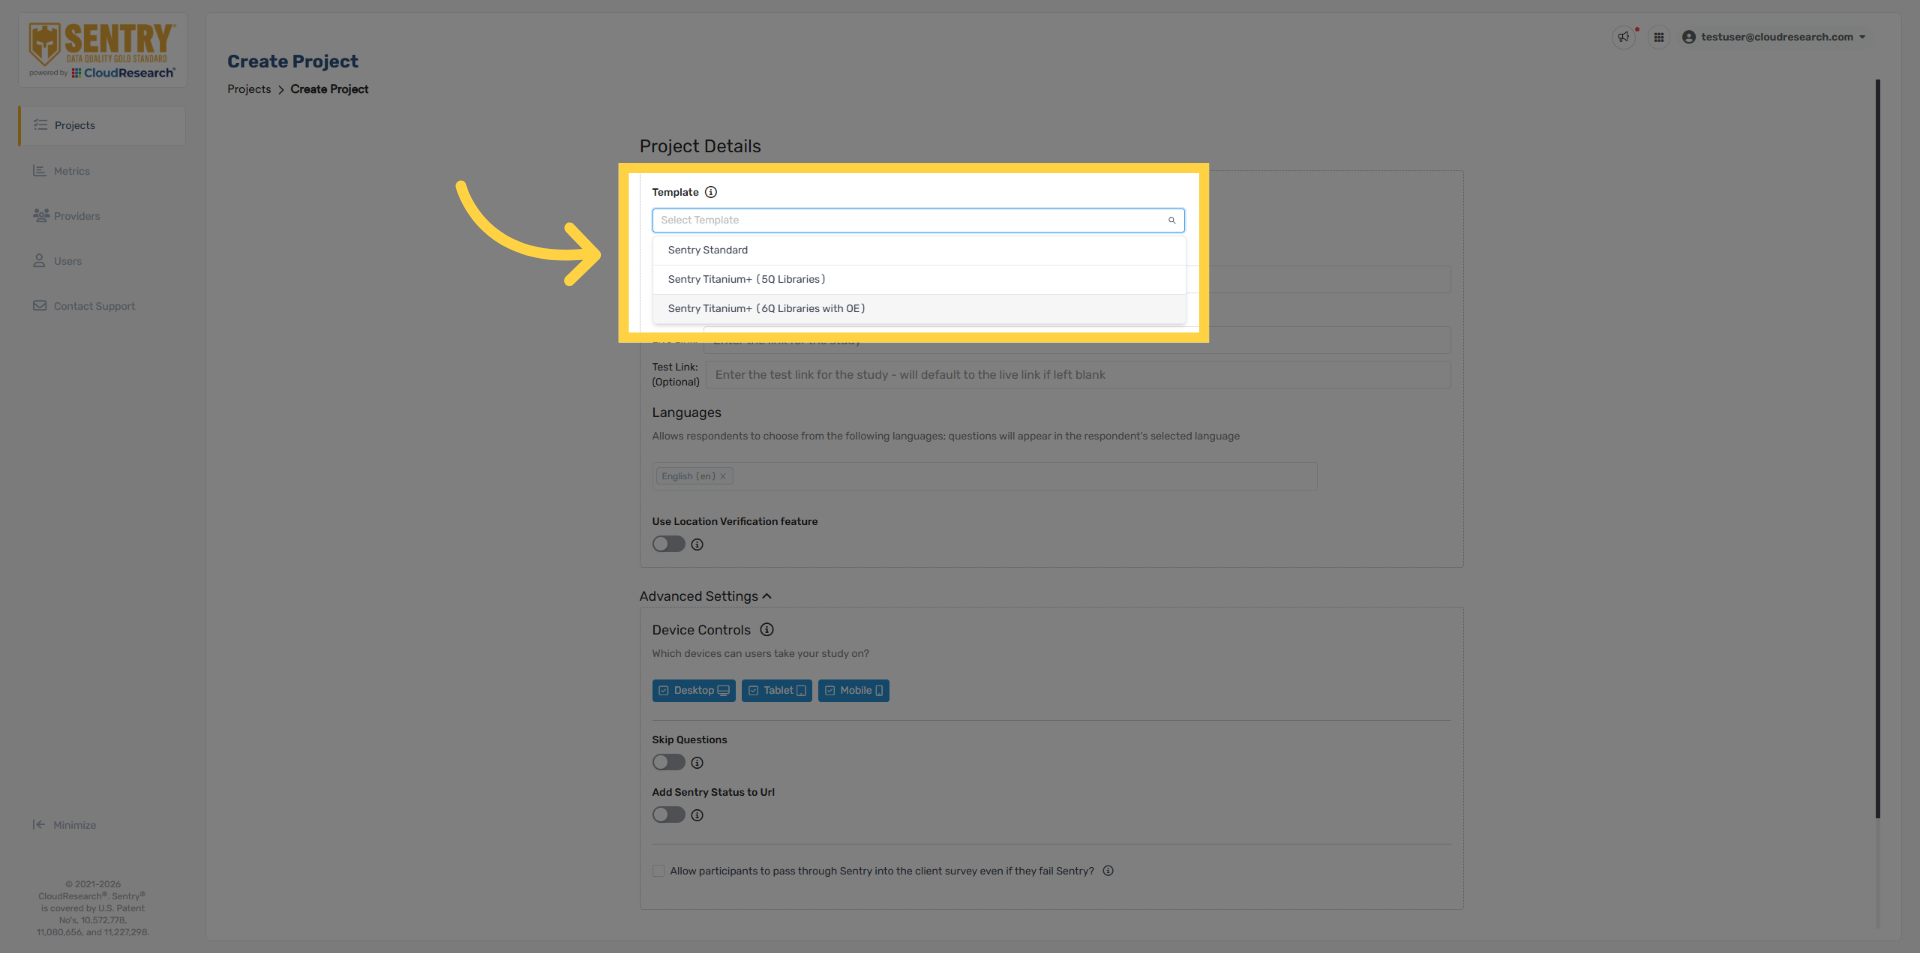
2. Template Selection
The first step in project setup is selecting a Sentry template, which determines the overall level of stringency applied to your study. Our default template options are designed to provide flexibility while maintaining strong data quality standards. The primary differences between templates are the number of behavioral questions presented, the types of behavioral questions used, and how many of those questions respondents are required to pass. All technical security options are enabled across all three templates. The 6-Question template includes five behavioral questions and one open-ended question and provides the highest level of data quality. The 5-Question template is similar but excludes the open-ended question, resulting in a higher respondent pass rate. Lastly, the Sentry Standard template is our least stringent option. It includes four behavioral questions and requires respondents to correctly pass three of the four questions. This template is designed to remove only the most problematic respondents while minimizing overall data removals, and is generally recommended only in cases where minimal removal rates are preferred. As a best practice, we recommend starting with the most stringent template to achieve the highest possible data quality. That said, less stringent options can still be effective and may offer a preferred balance between removal rates and data quality. You can also modify your project template during fielding at any time, with no impact to your survey links. For a complete breakdown of each template, please refer to the Sentry template knowledge base article.
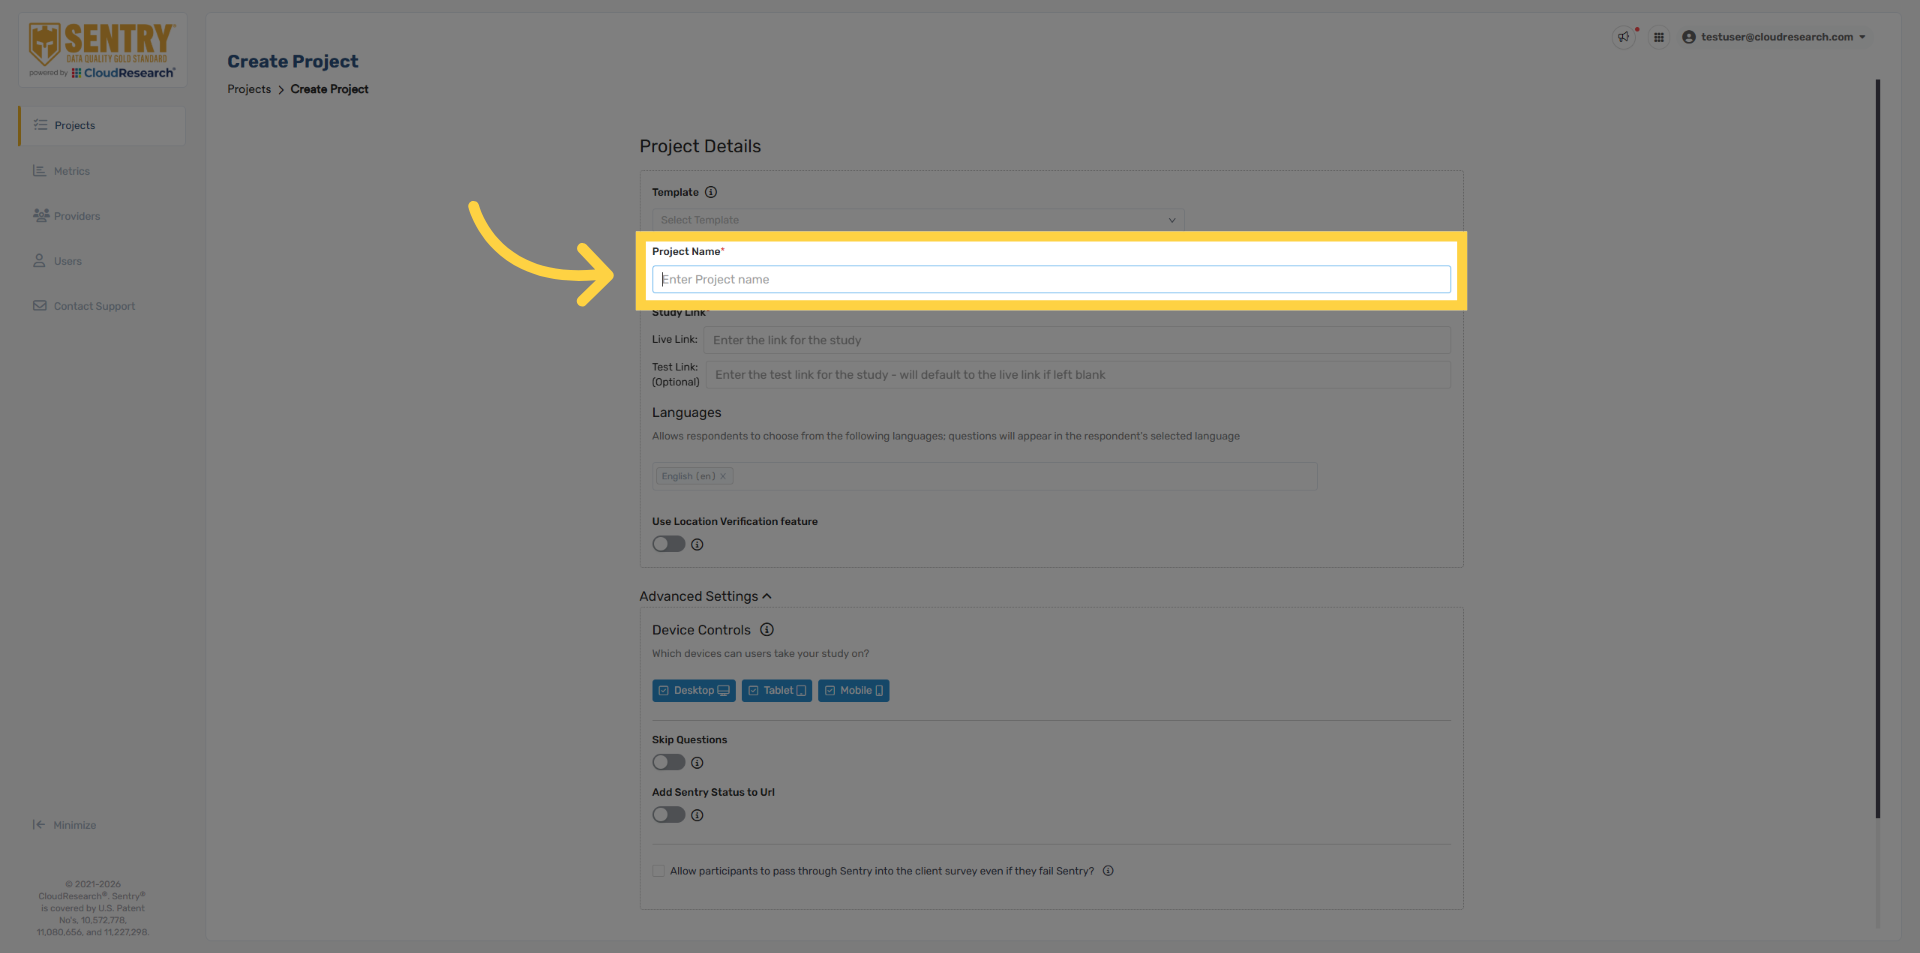
3. Project Name Field
Once you’ve selected a template, you can begin configuring your project details. Enter your project name. This is the name that will appear on the Sentry dashboard. Respondents will not see the project name at any time—it’s used strictly for internal tracking.
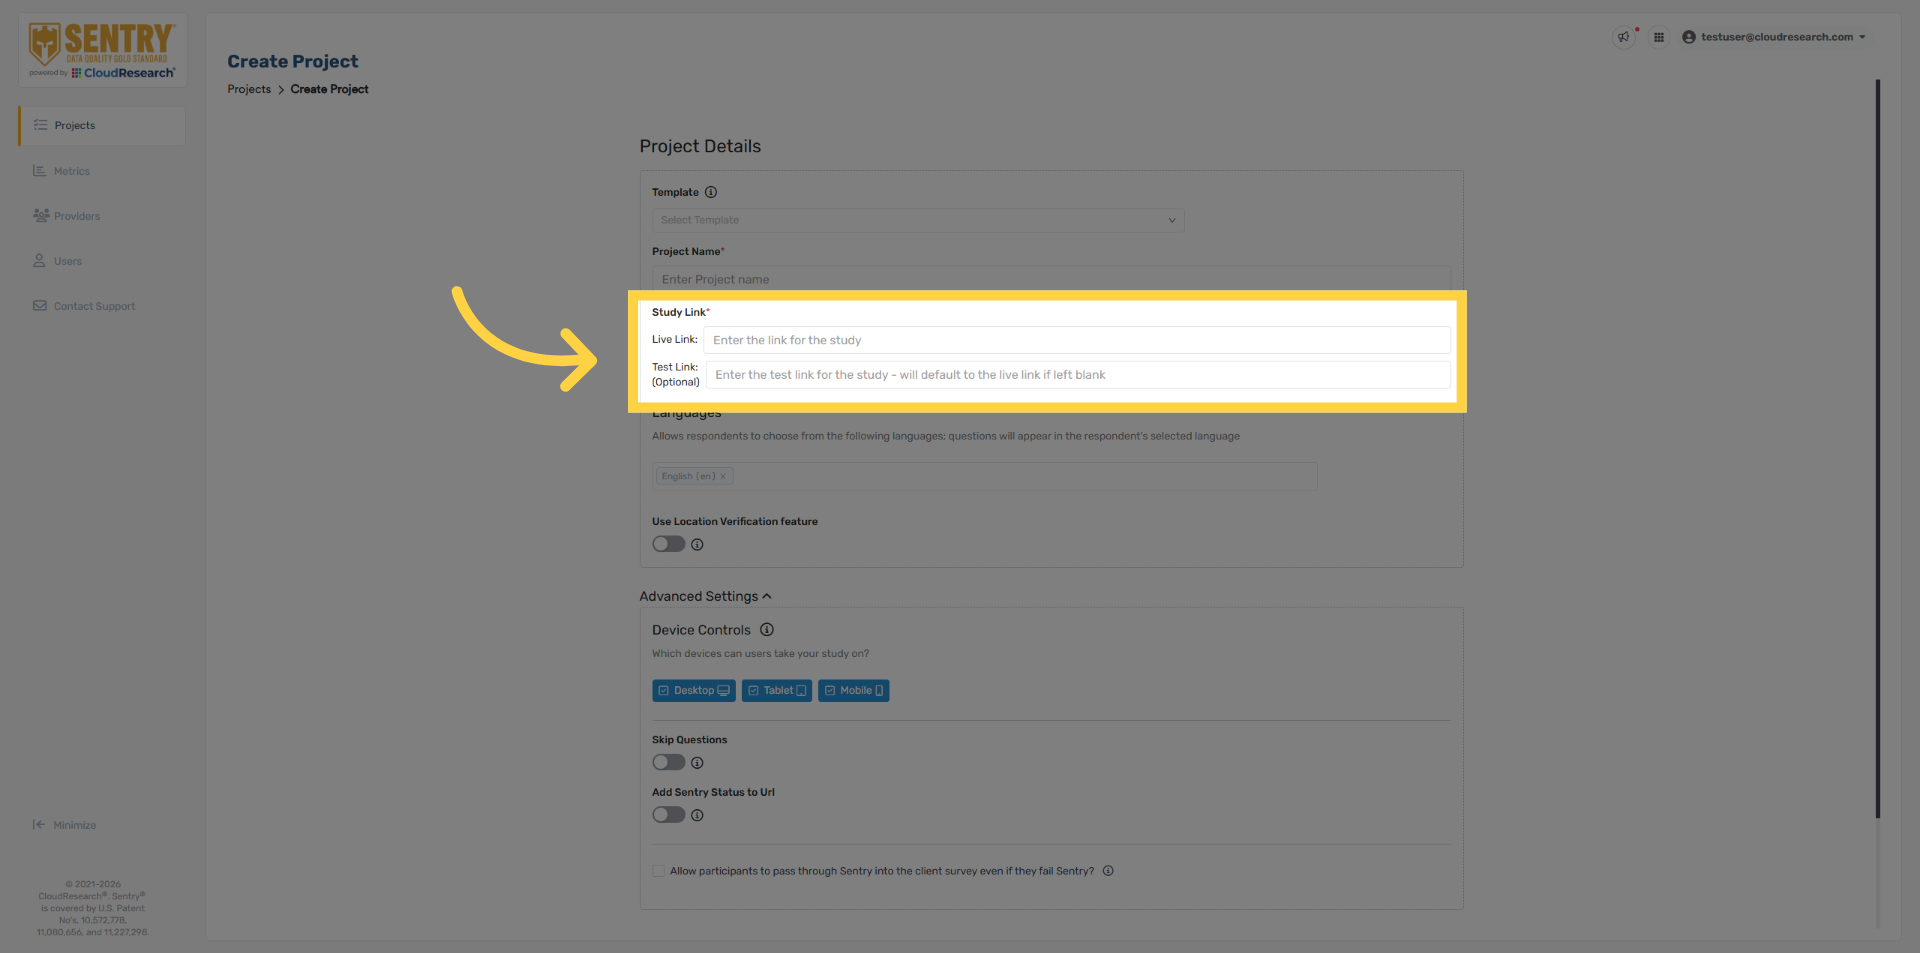
4. Project Links
Next, add your survey link. Be sure to remove any variables from the survey URL that are automatically passed into Sentry through the provider link. For example, the provider ID does not need to be hard-coded into the survey link. Any URL variables passed into Sentry will automatically be passed back out to both the survey link and the quality termination redirects. The Test Link field is optional. If it’s left blank, Sentry will automatically use the live link during testing. Sentry can also pass additional query string parameters into your survey, such as respondent status, termination reason, or country code. If you’d like to take advantage of these options, please refer to our Query String Parameters guide for more details.
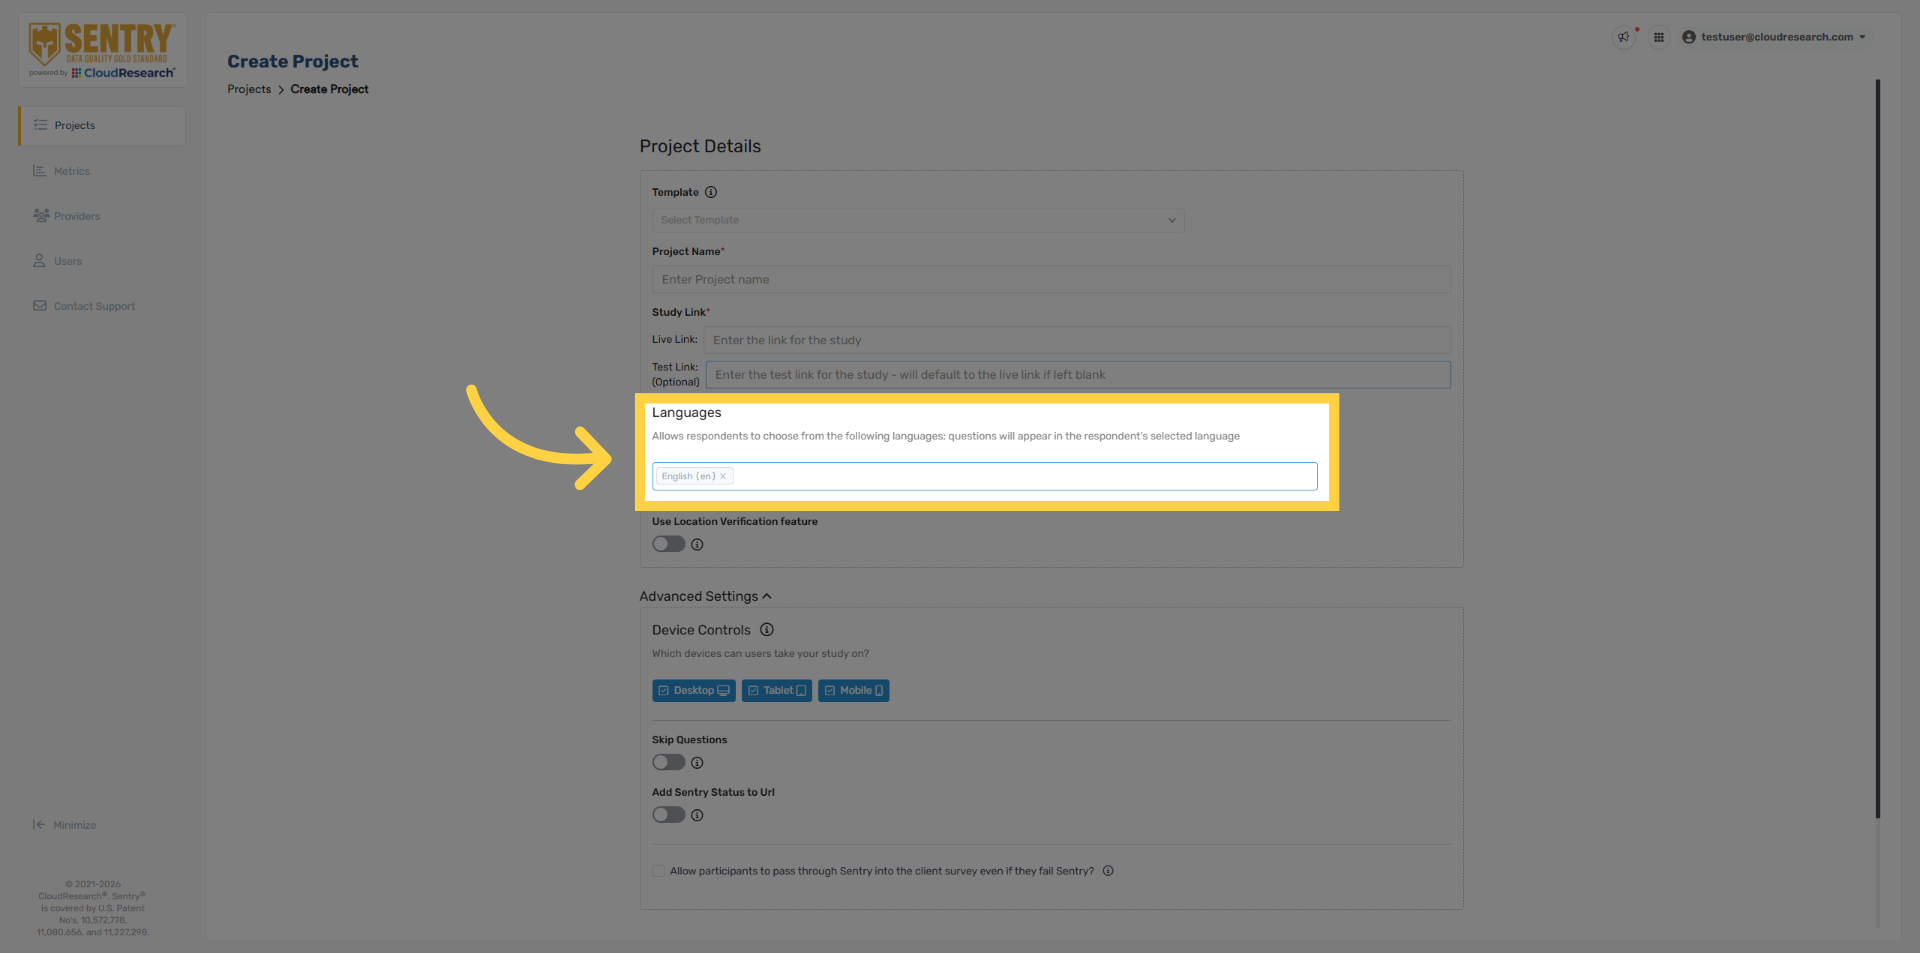
5. Language Selection
Next, select the language you want Sentry to appear in. If no language is selected, Sentry will default to English.
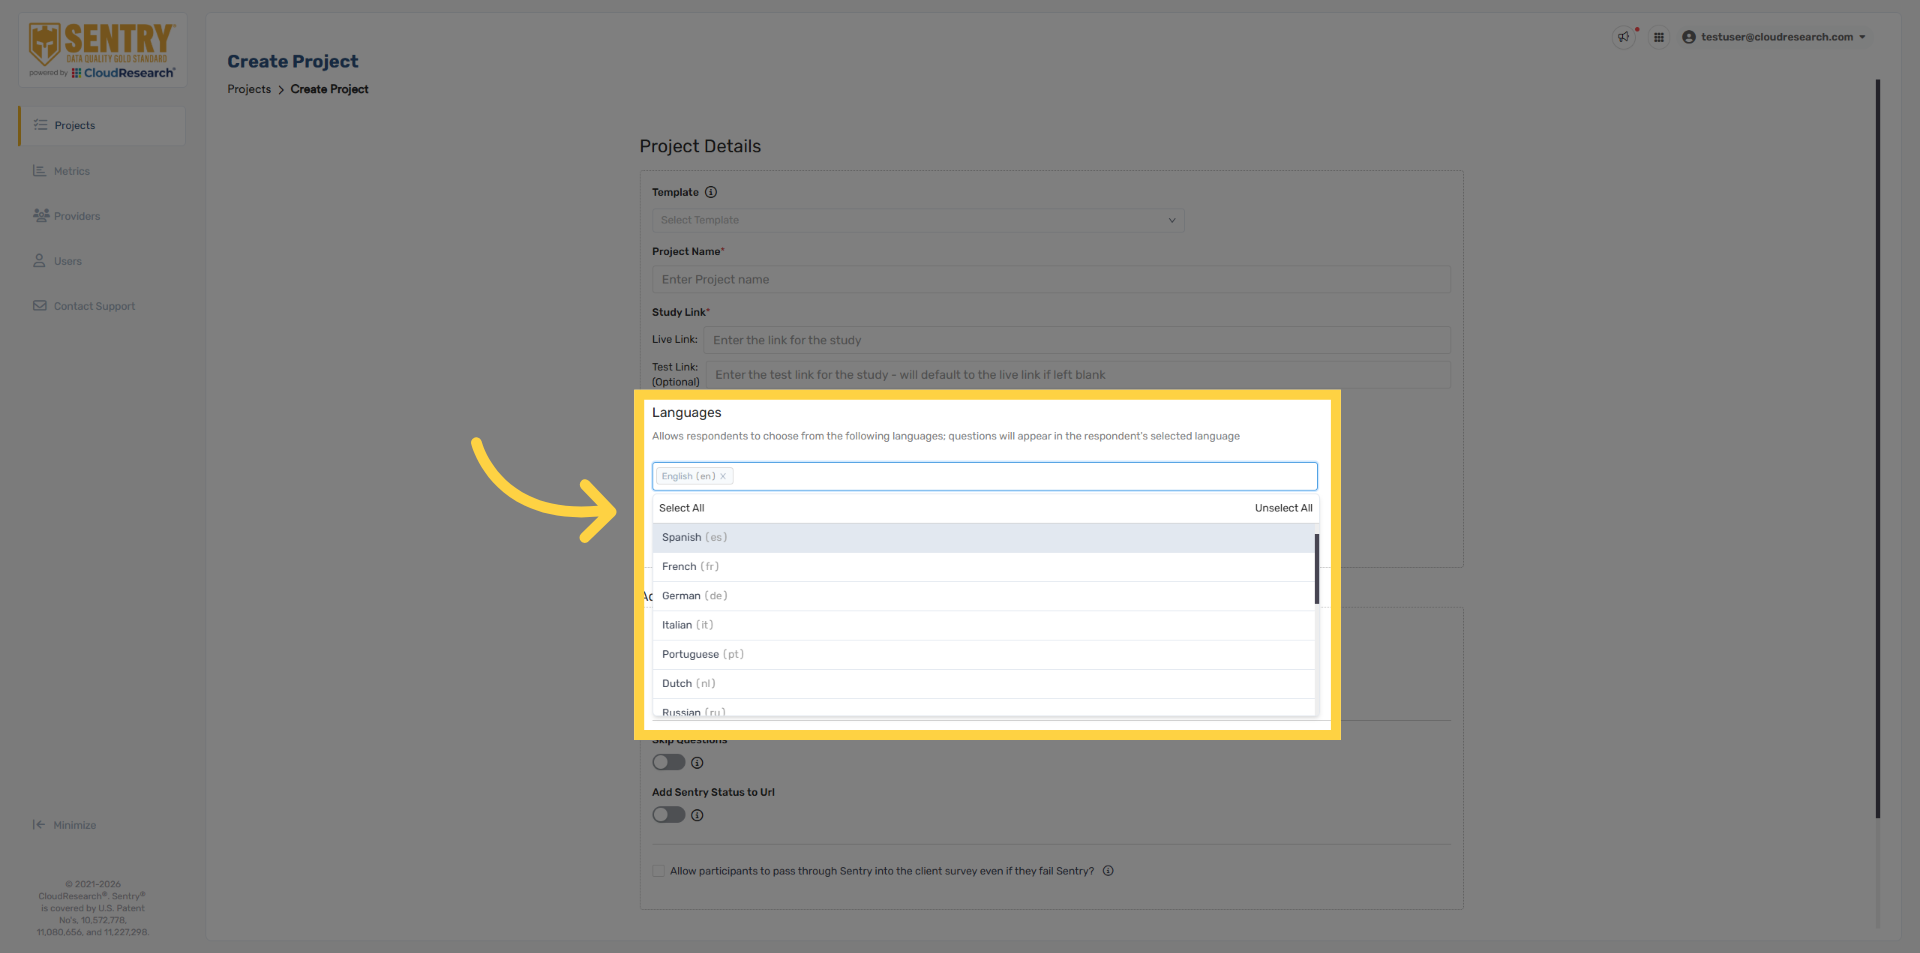
6. Multiple Languages
Sentry currently supports 38 languages, allowing you to improve data quality across more than 140 countries. You can also select multiple languages at once, giving respondents the option to complete Sentry in their preferred language.
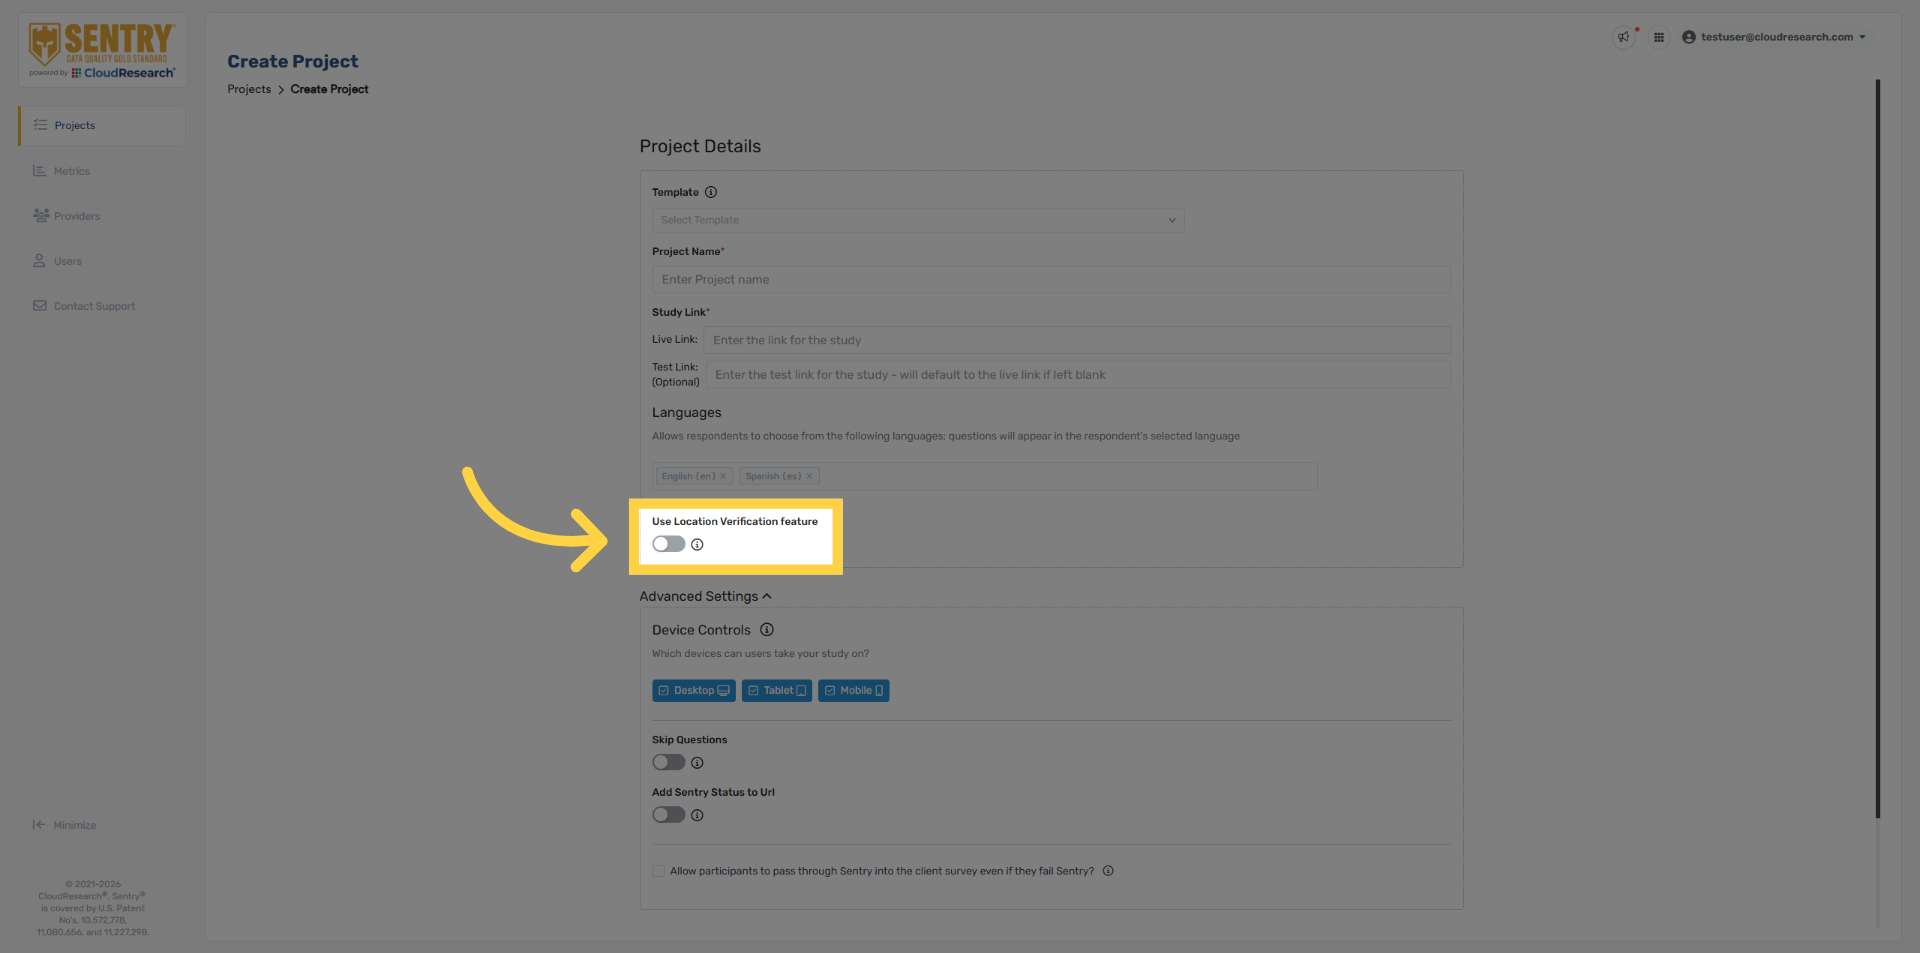
7. Location Verification
We recommend utilizing our Location Verification security, which is based on the respondents IP address.
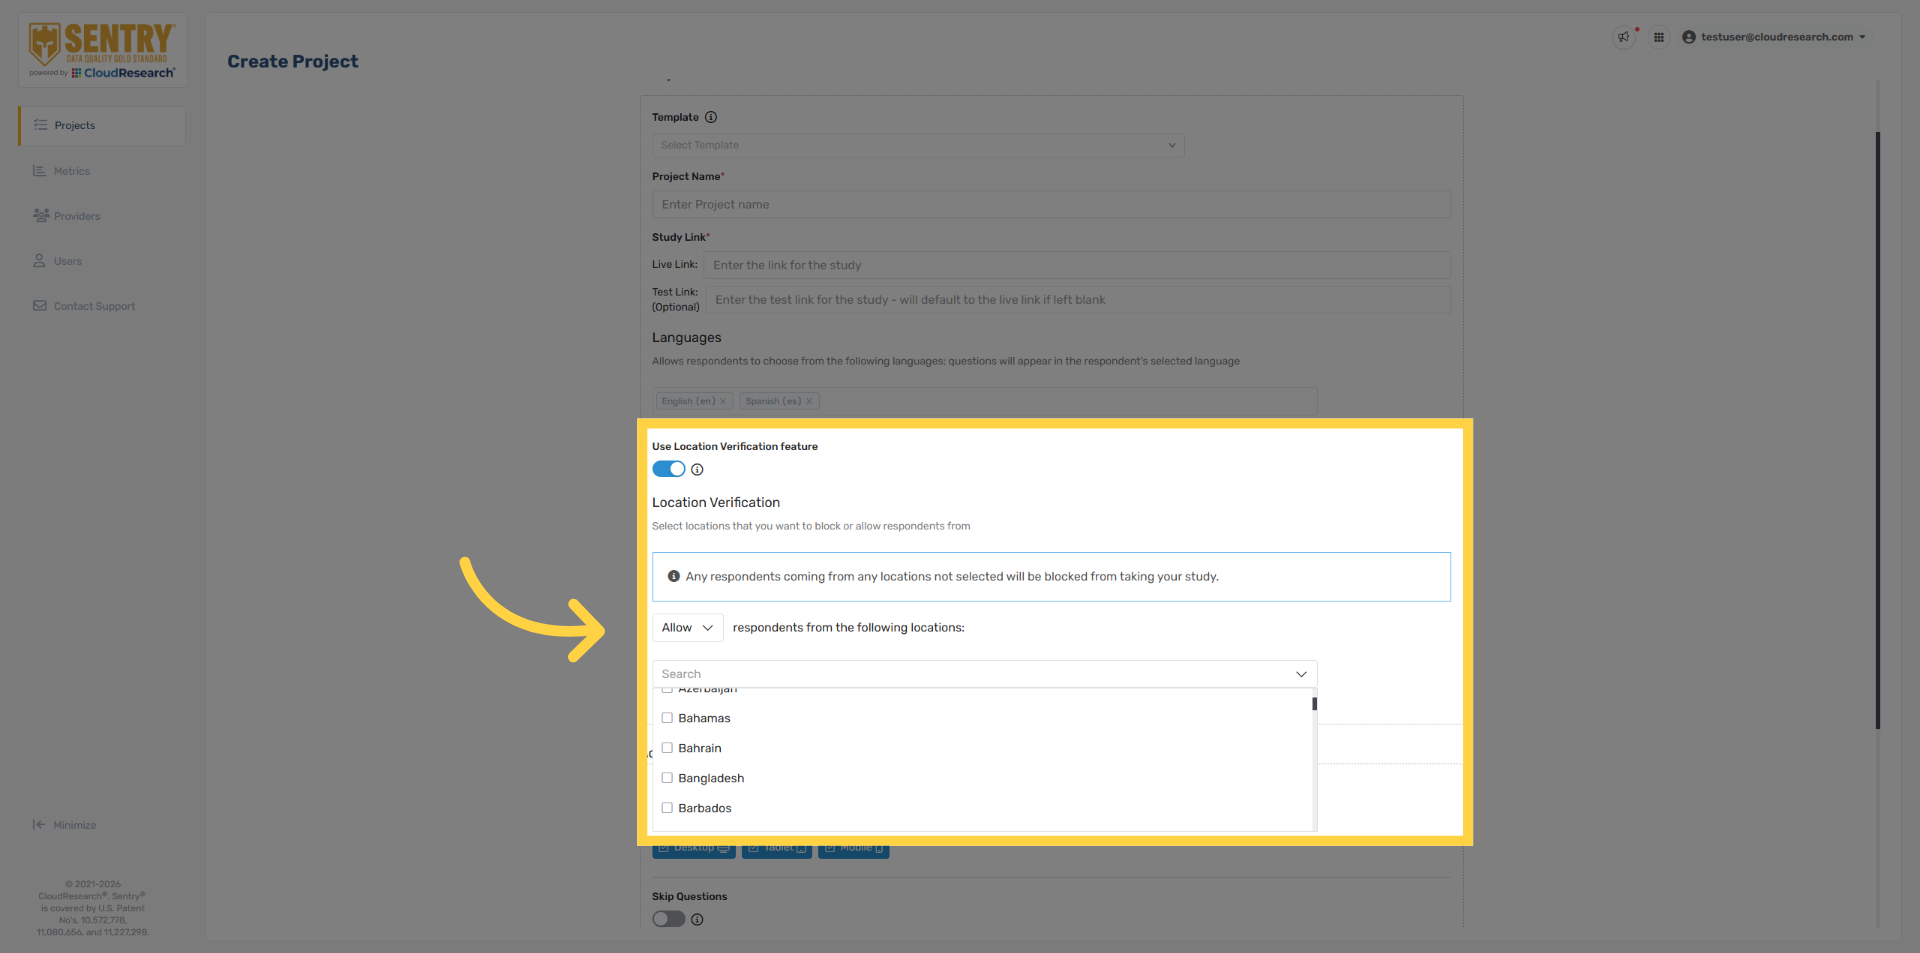
8. Search Location Verification
Select the target location you want to verify. Multiple locations can be selected, including individual states and provinces.
9. Verify Device Type
Sentry can also detect the respondent’s device and automatically remove participants using devices that aren’t compatible with your study. By default, all devices are enabled.

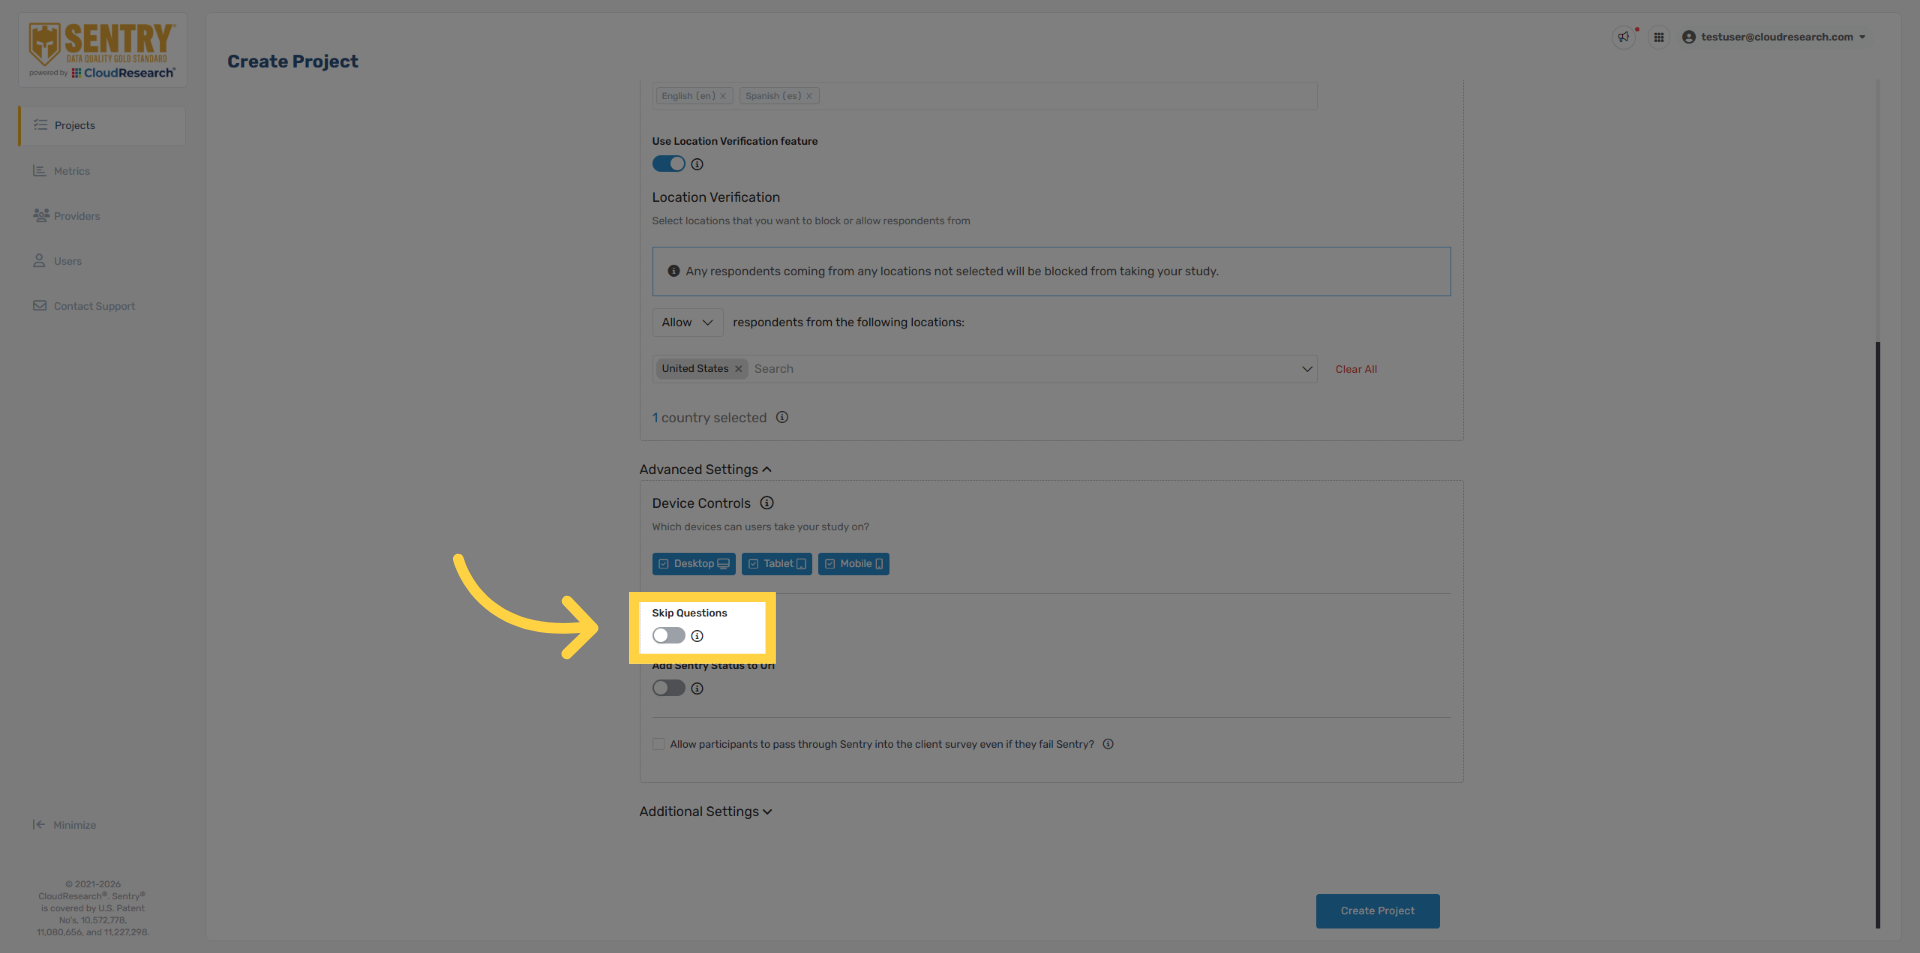
10. Skip Questions Toggle
The “Skip Questions” toggle skips all behavioral questions while retaining technical security. This option isn’t recommended and is mainly used when a project language isn’t supported.
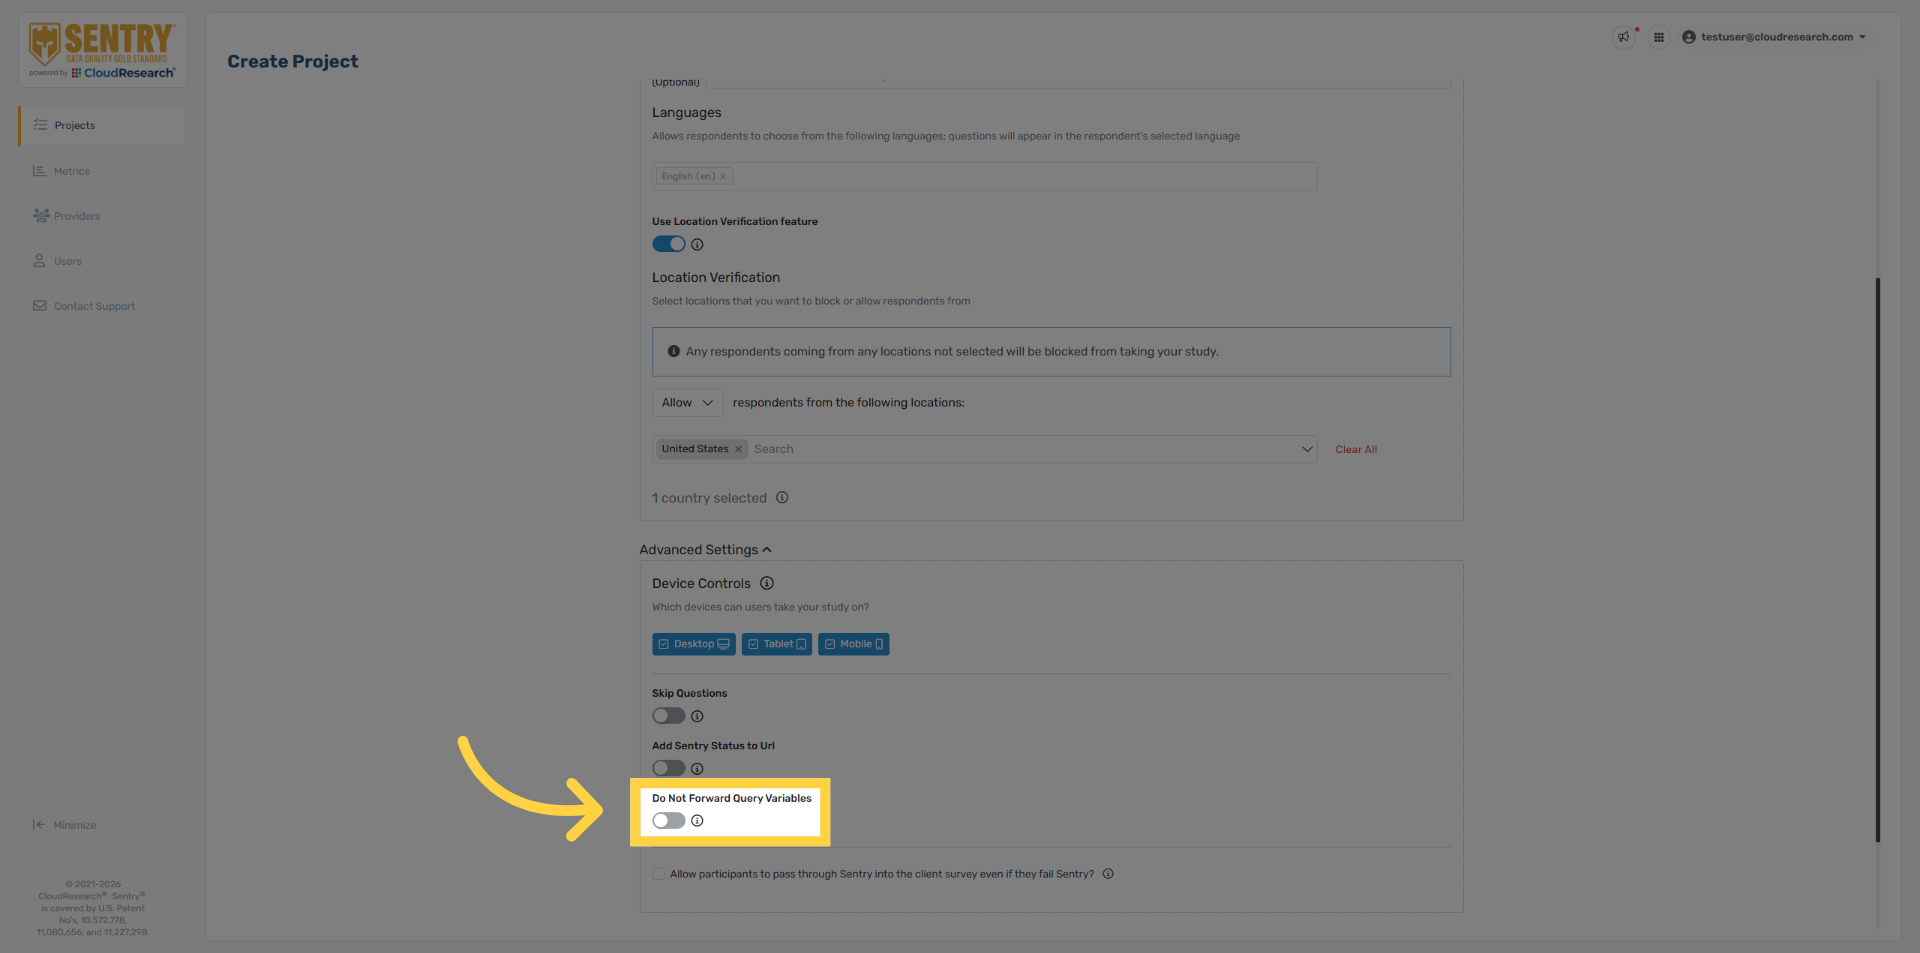
11. Do Not Forward Query Variables
The “Do Not Forward Query Variables” toggle lets you control which URL parameters are passed from Sentry into your survey or termination links. This option is not enabled by default and is intended for more advanced URL configurations. If you’d like this setting enabled, please contact our support team. For additional details, see the Sentry Knowledgebase.
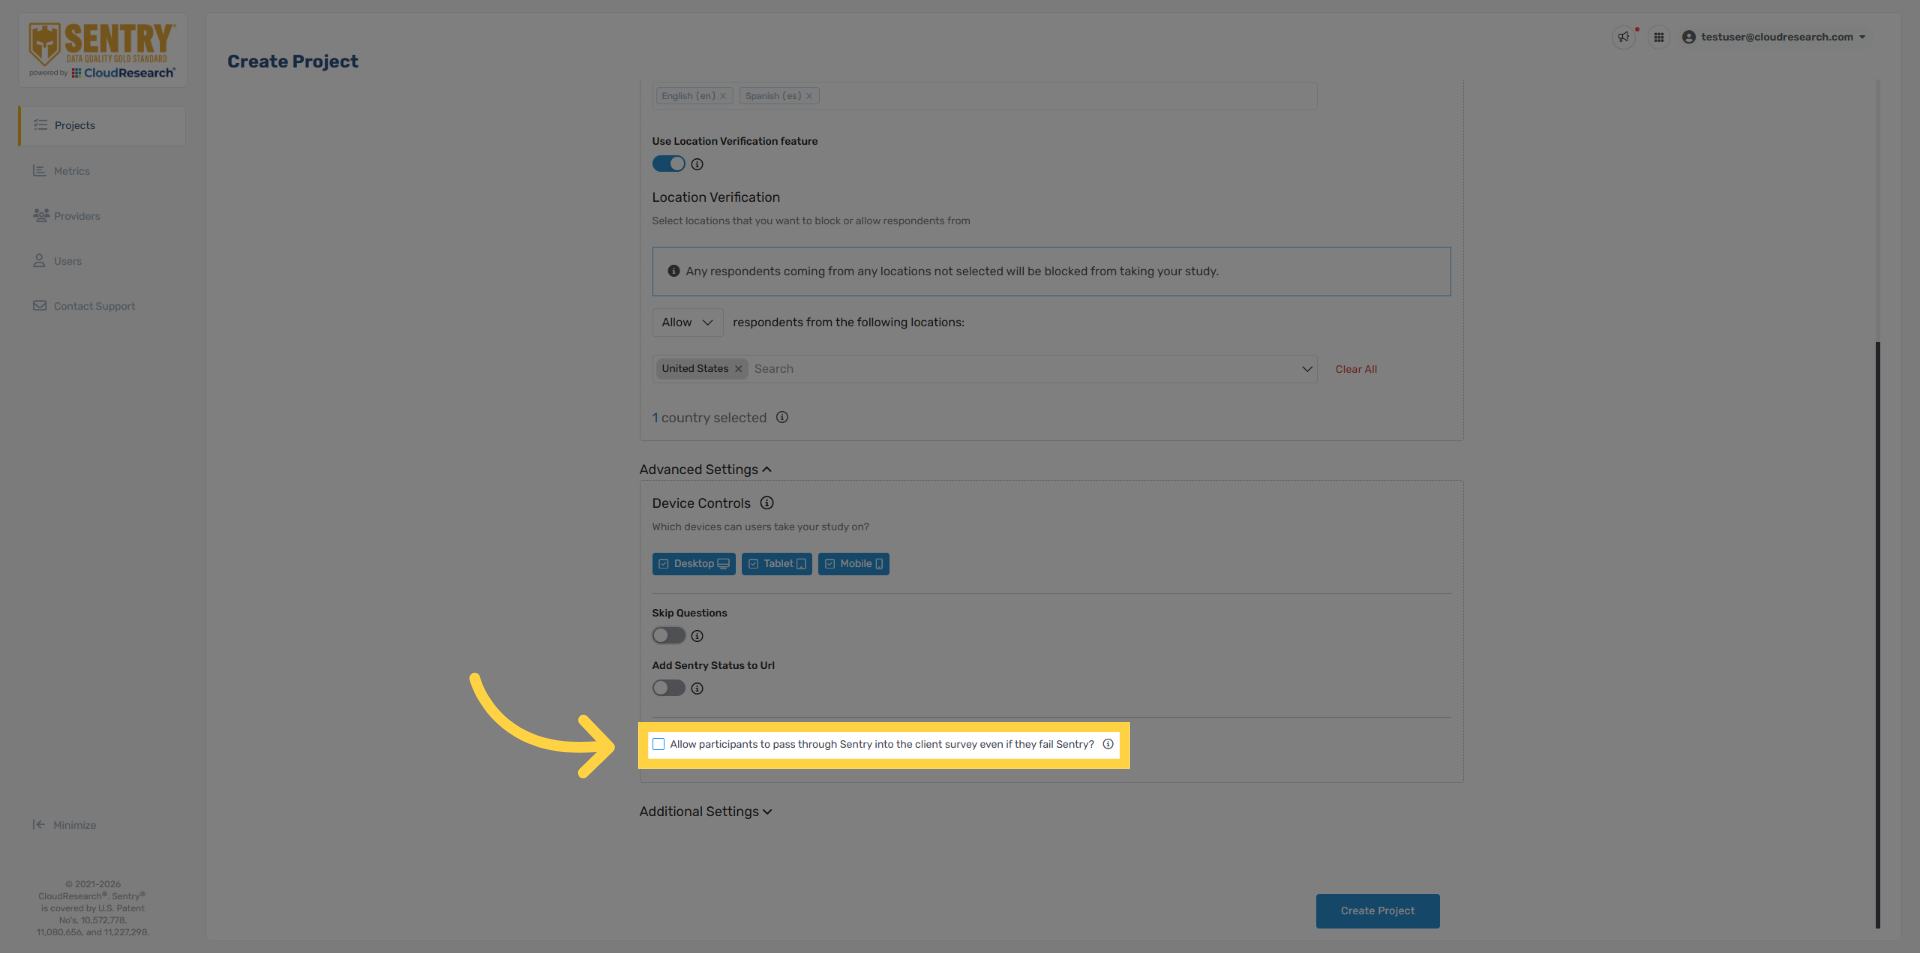
12. Security Settings
If you need to disable certain security checks for a project, you can do so by enabling the option to “Allow participants to pass through Sentry into the client survey even if they fail Sentry.”
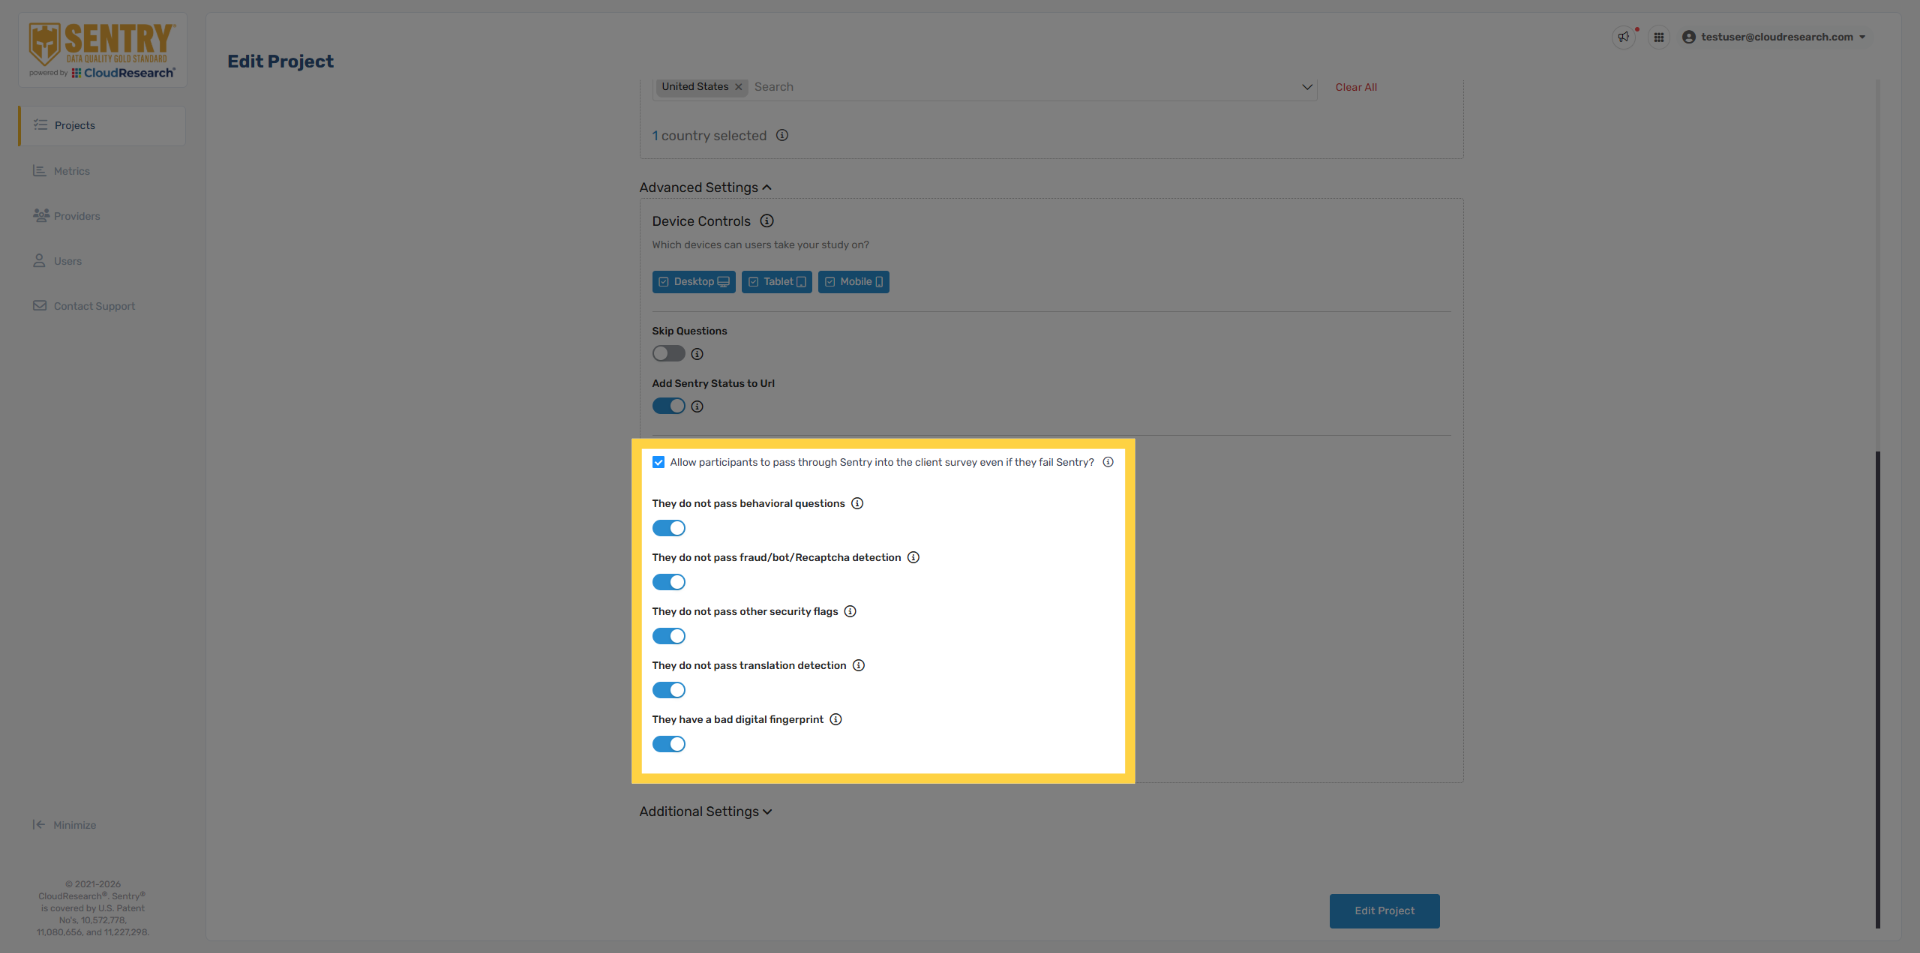
13. Pilot Mode Settings
A menu will appear allowing you to toggle individual Sentry security features on or off. Turning off all security features, as shown here, places Sentry into Pilot Mode. In this mode, respondents are still flagged but allowed to continue into the survey. Pilot Mode is intended for testing Sentry’s effectiveness; live projects should keep all security settings enabled. For more details on each security toggle, use the information icon next to each option.
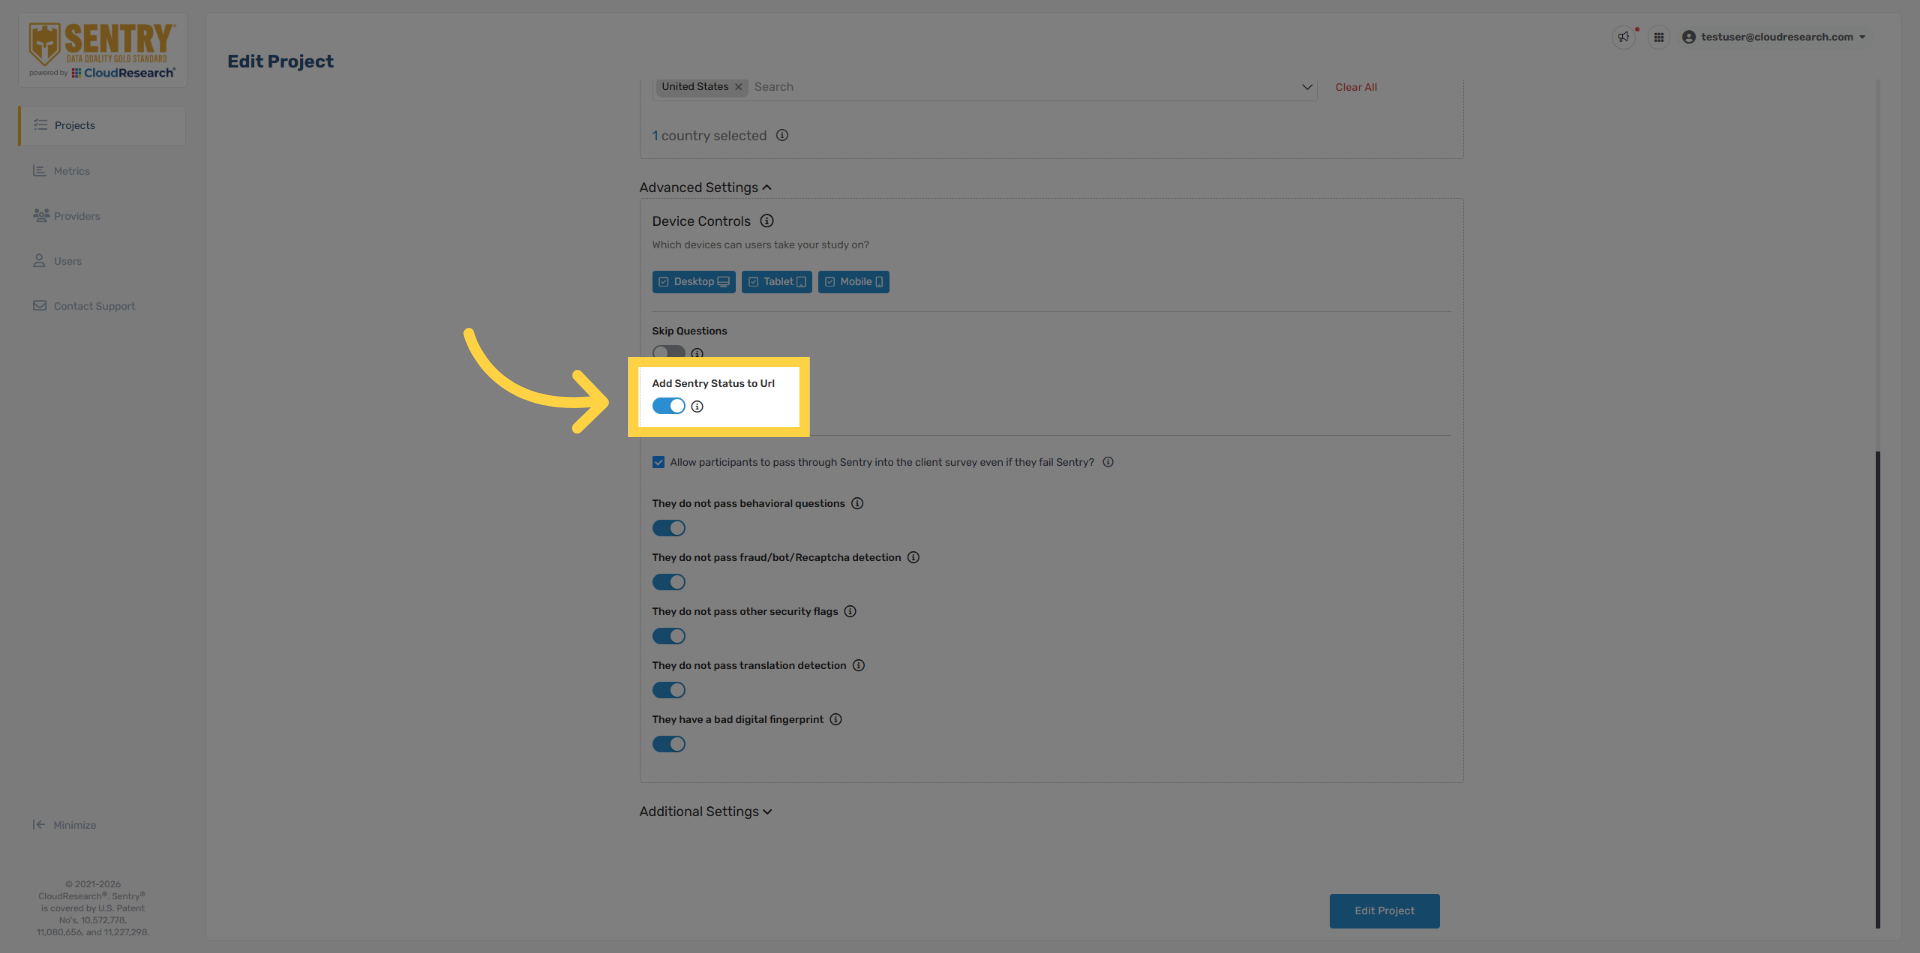
14. Sentry Status
In Pilot Mode, Sentry automatically enables the Sentry Status variable, allowing you to capture the respondent performance within the survey data. A value of one indicates a Pass, two a Behavioral Fail, and three a Security Fail. This is generally used for piloting only and isn’t required for live projects.
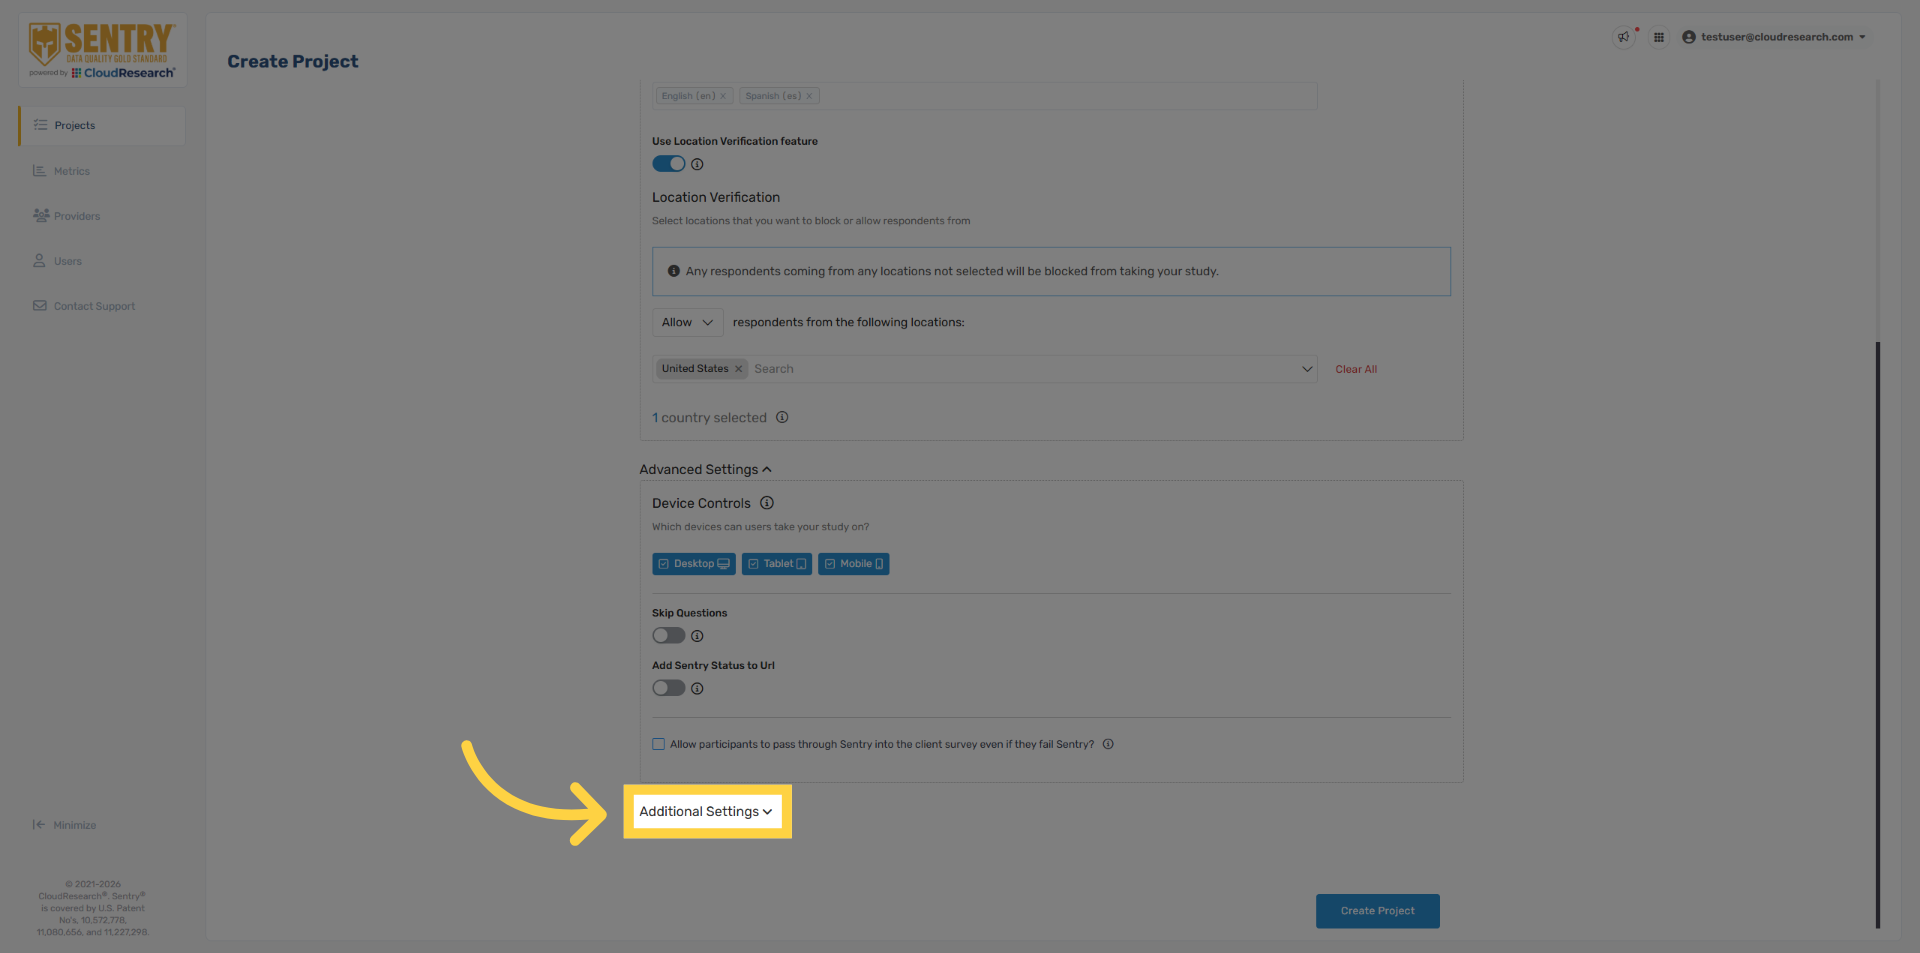
15. Additional Settings
Next, we’ll cover a few additional settings, which can be accessed by clicking the Additional Settings dropdown.
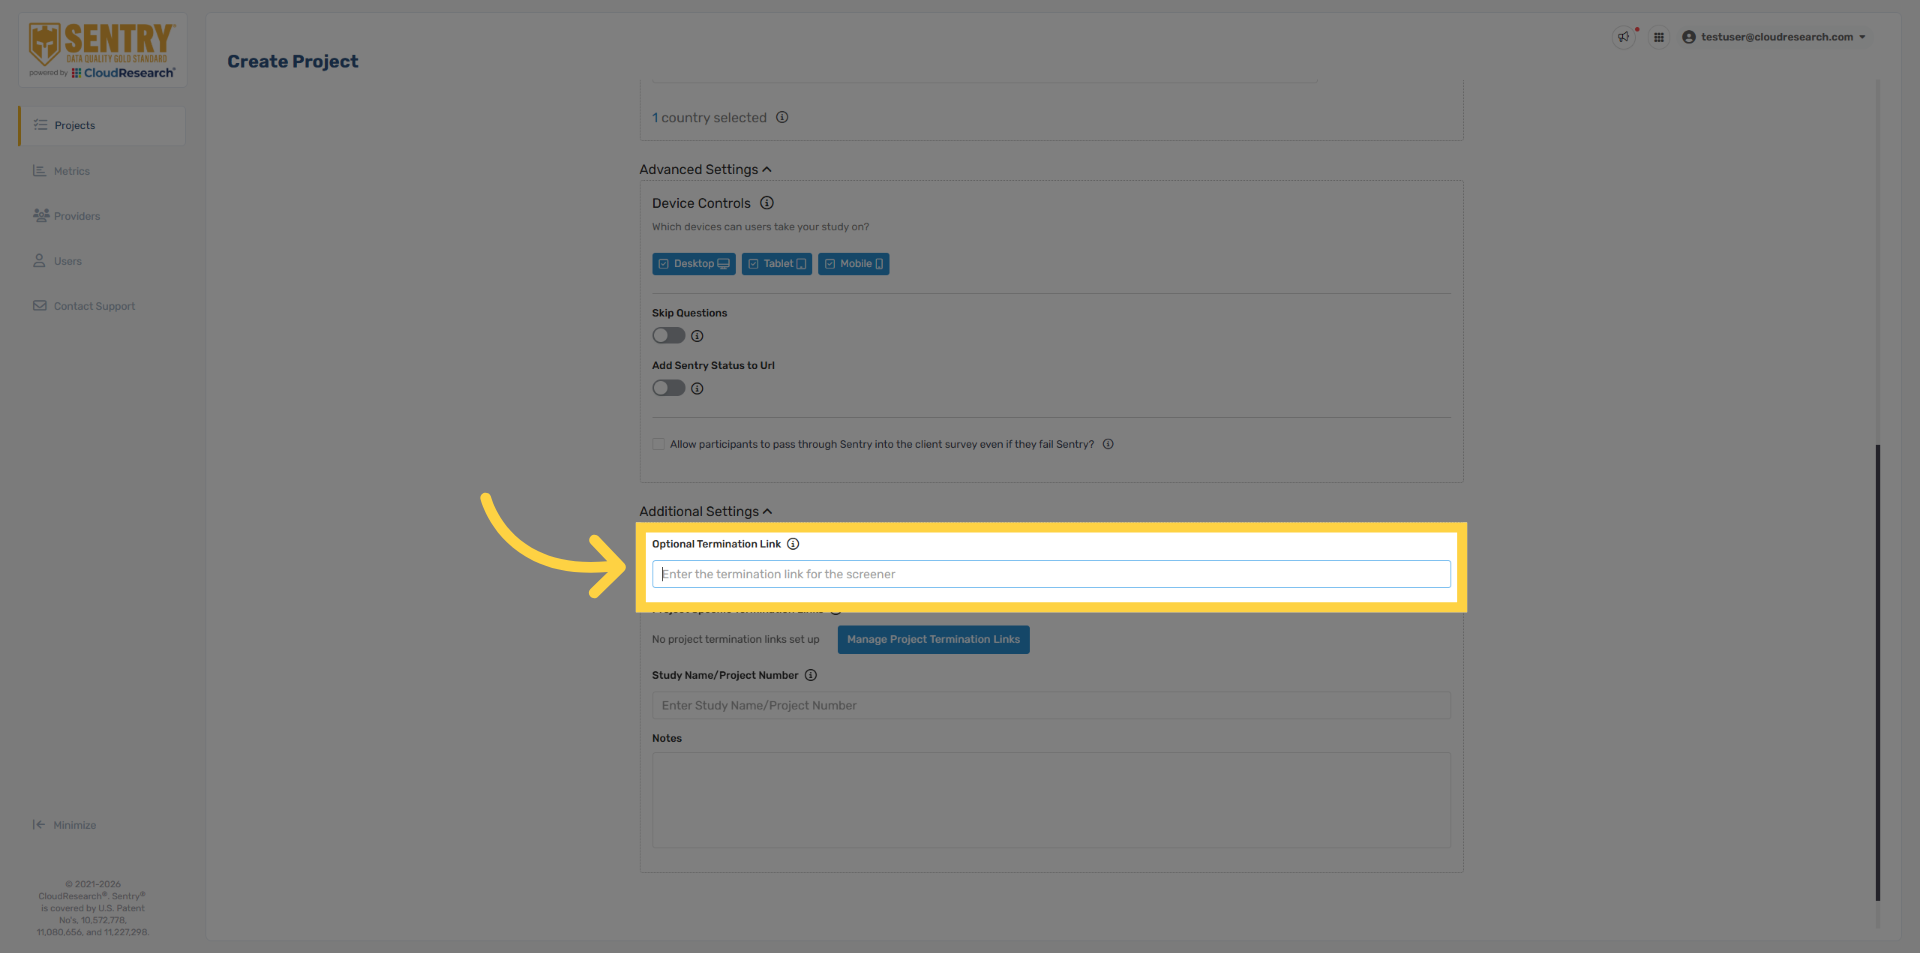
16. Optional Termination Link
The Optional Termination Link allows you to send terminated respondents to a specific URL. This setting overrides the redirects defined in the Provider tab and is typically used when routing failed Sentry respondents to a separate survey instead of the live survey or provider termination links.
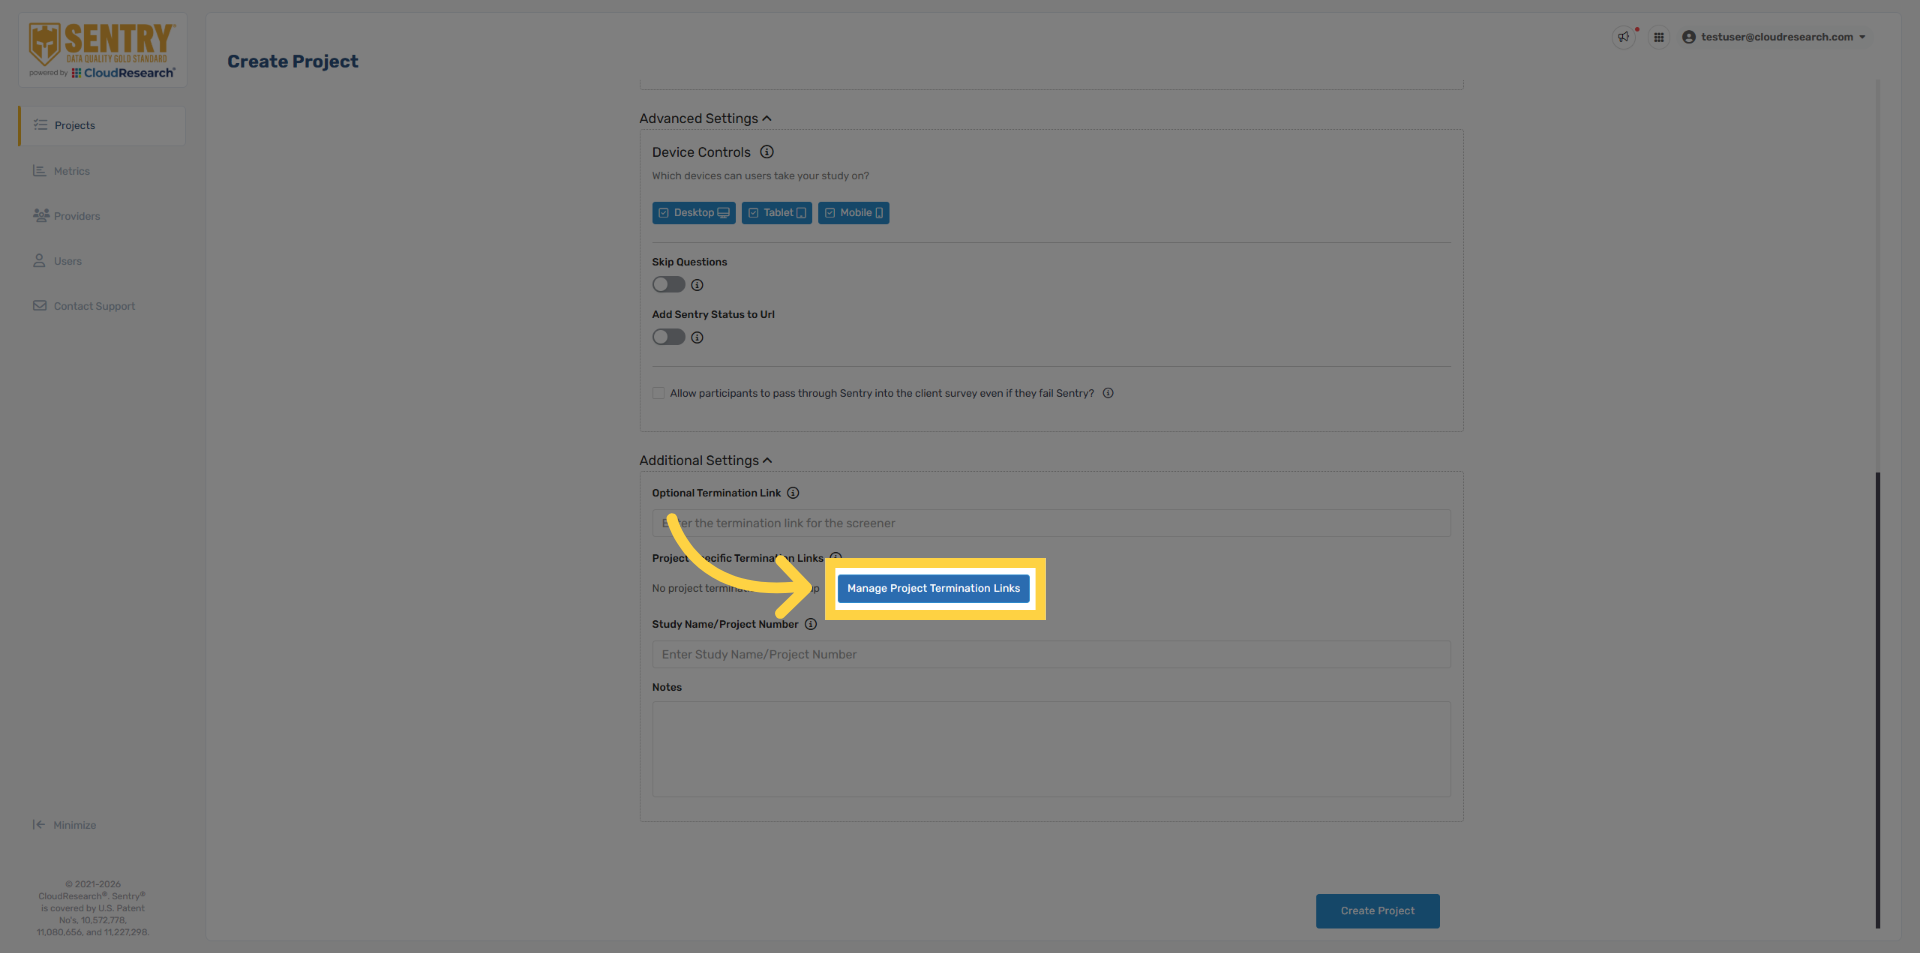
17. Manage Termination Links
If your sample provider uses project-specific redirects, you’ll need to add them within the Sentry project by clicking Managed Project Termination Links.
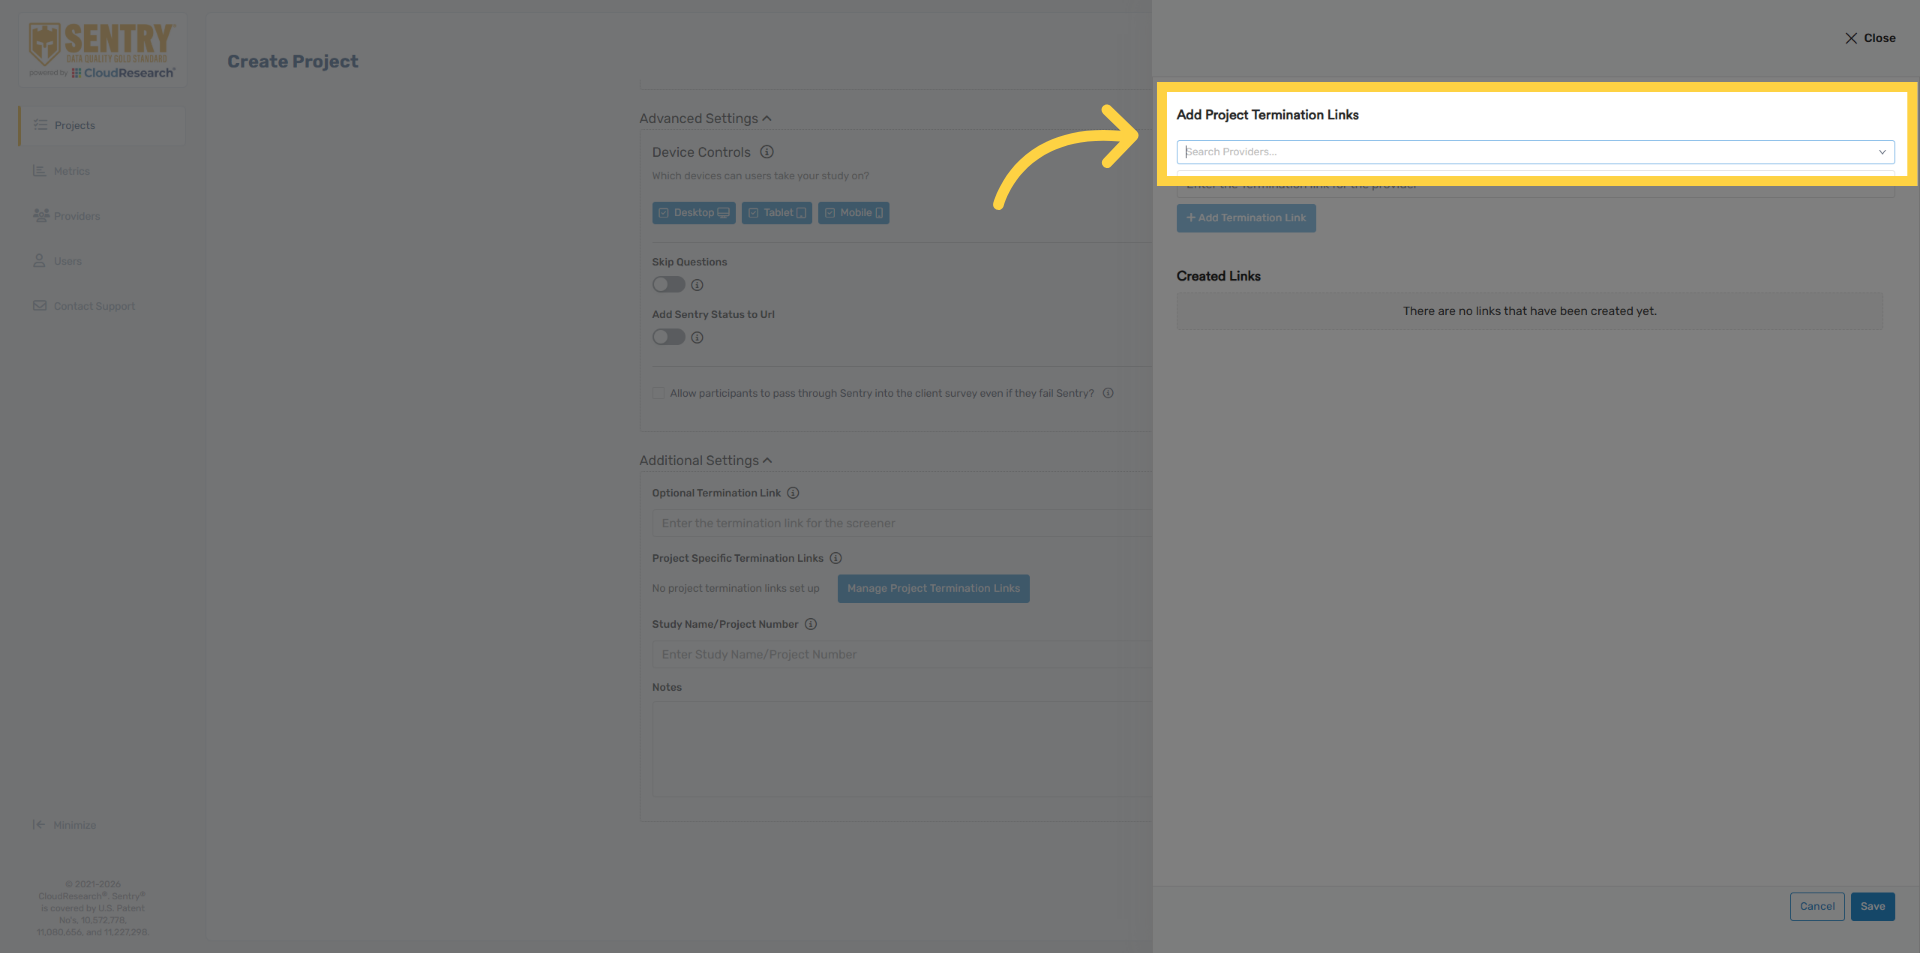
18. Access Provider Termination Links
Select the name of the provider from the dropdown menu
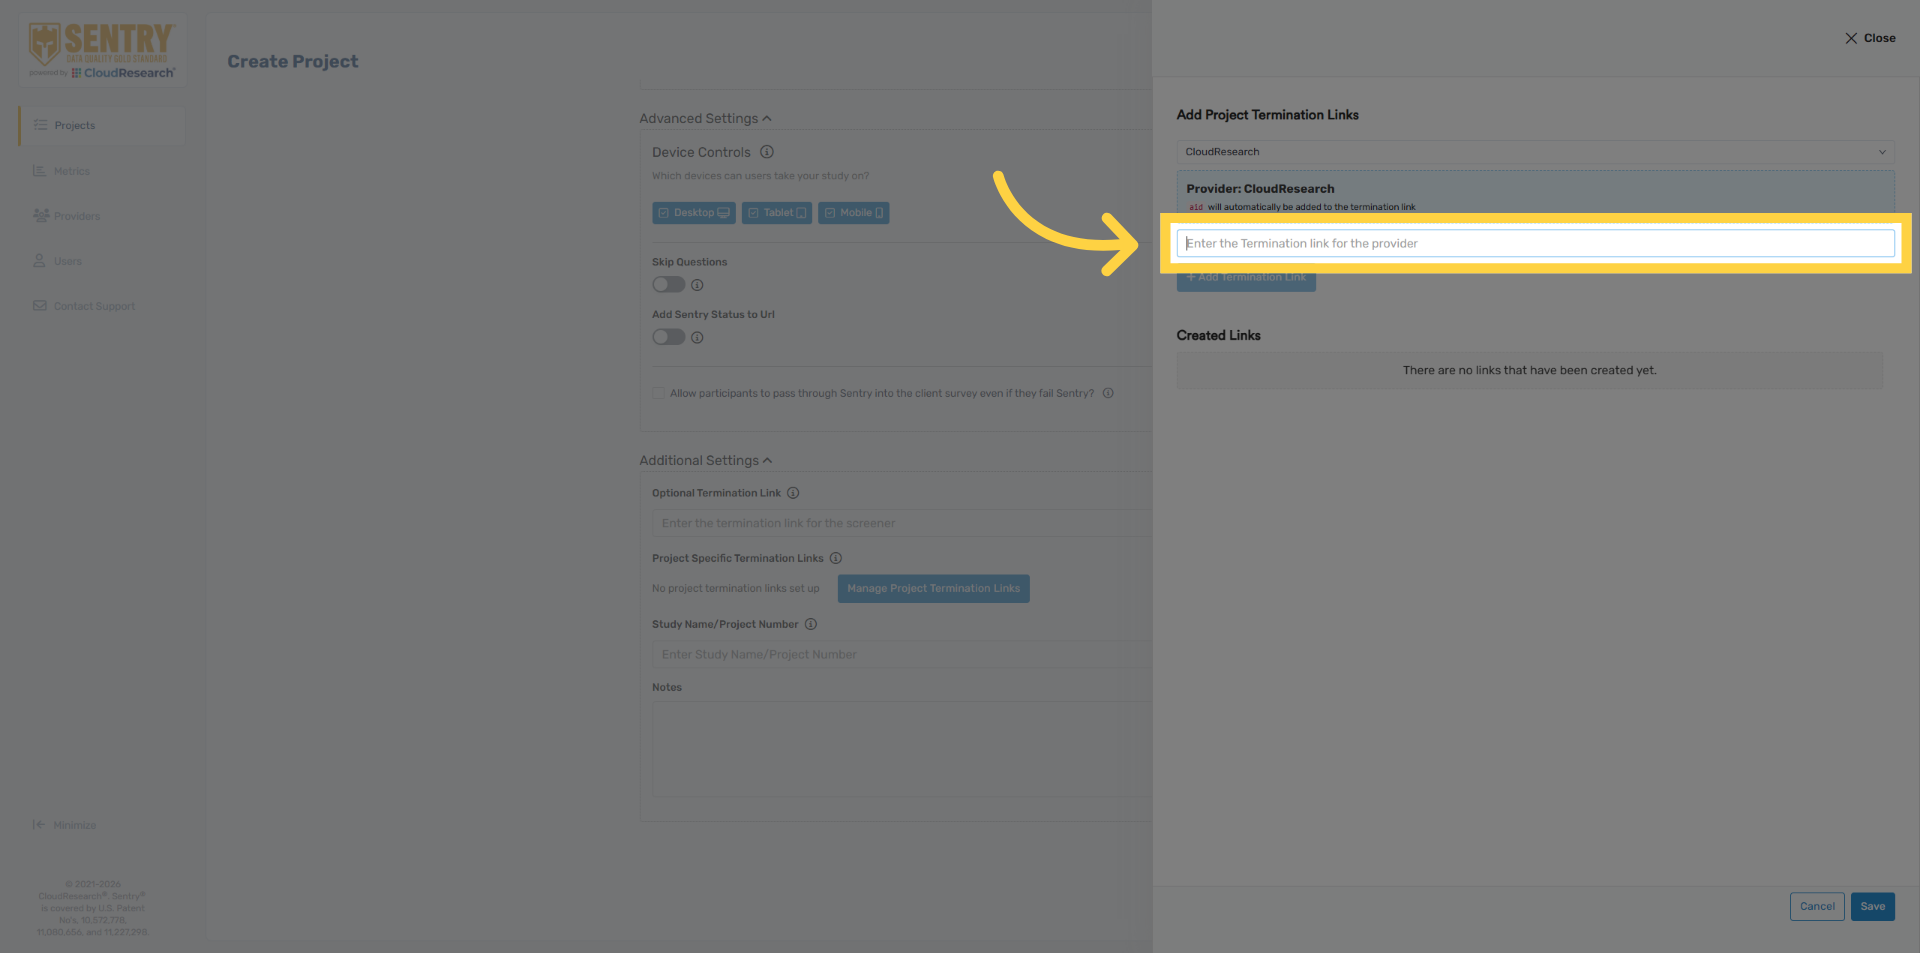
19. Enter Provider Termination Link
Enter the quality termination link for the select provider. Remember to remove any URL variables that will be automatically passed in by your sample provider.
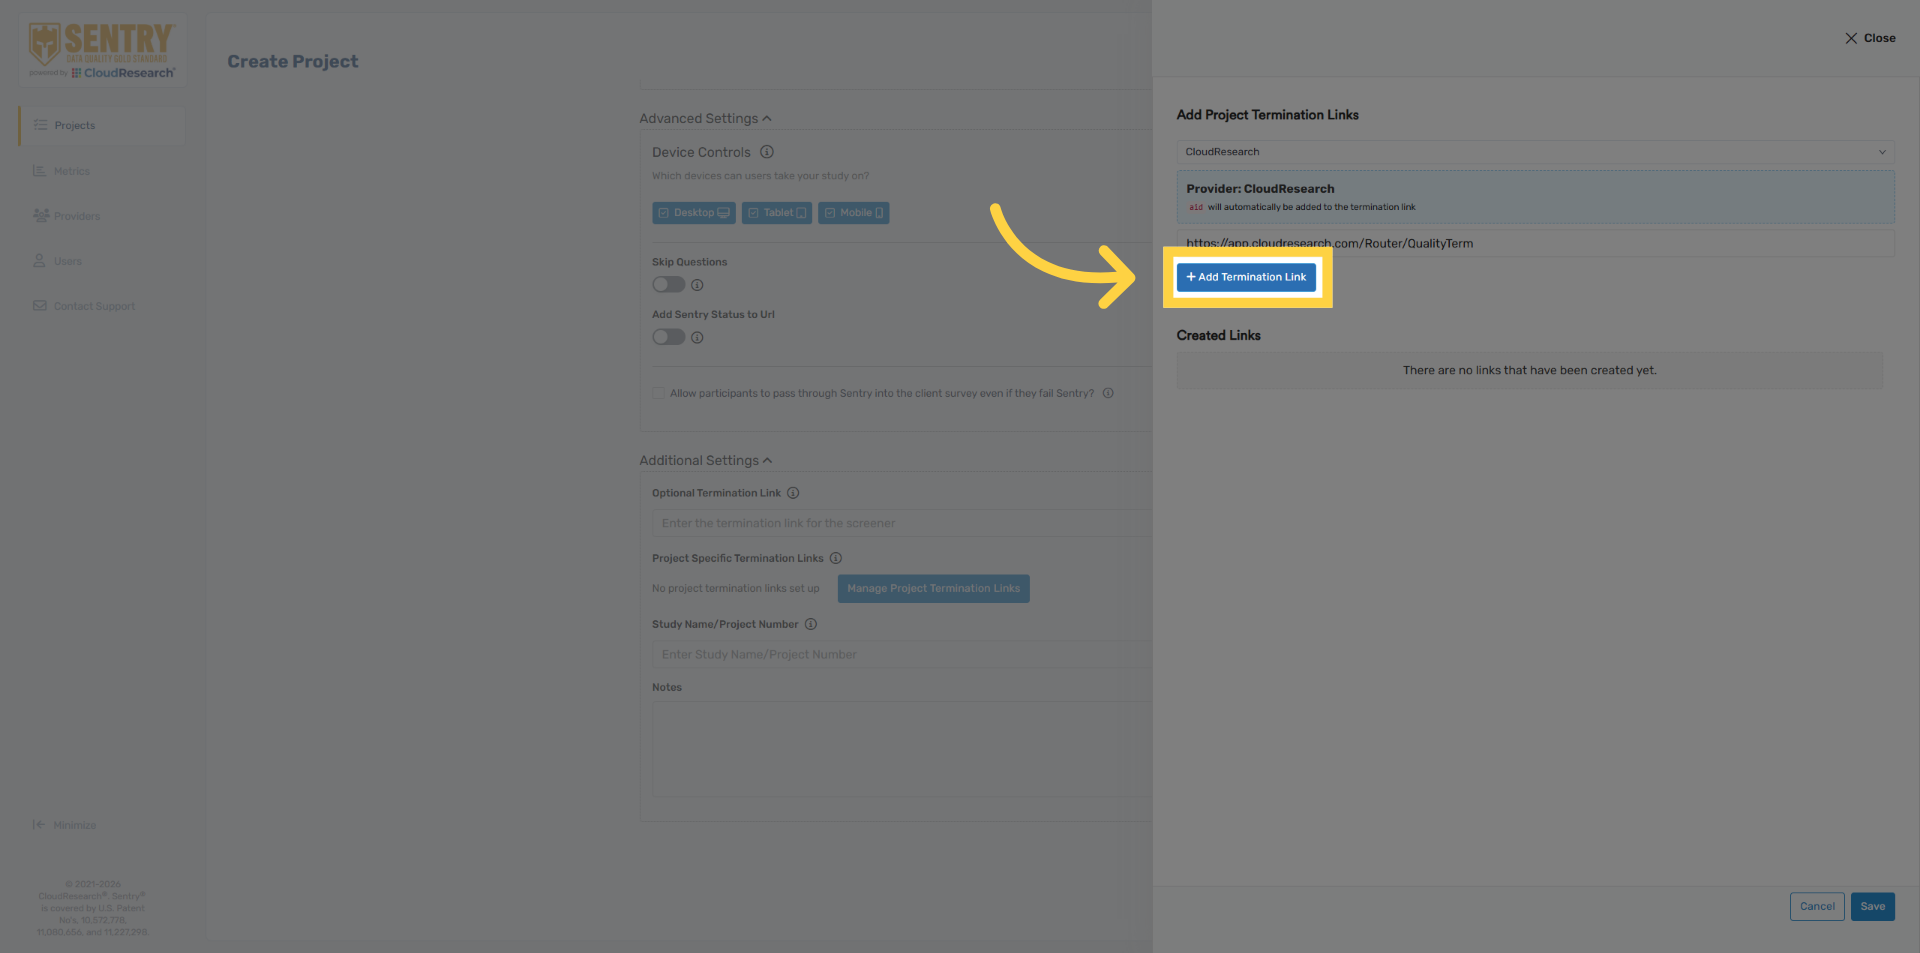
20. Add Termination Link
Click add termination link, once complete.
21. Save Termination Links
Click save to confirm termination links. Again, this step is only necessary if your sample supplier uses project specific termination links.

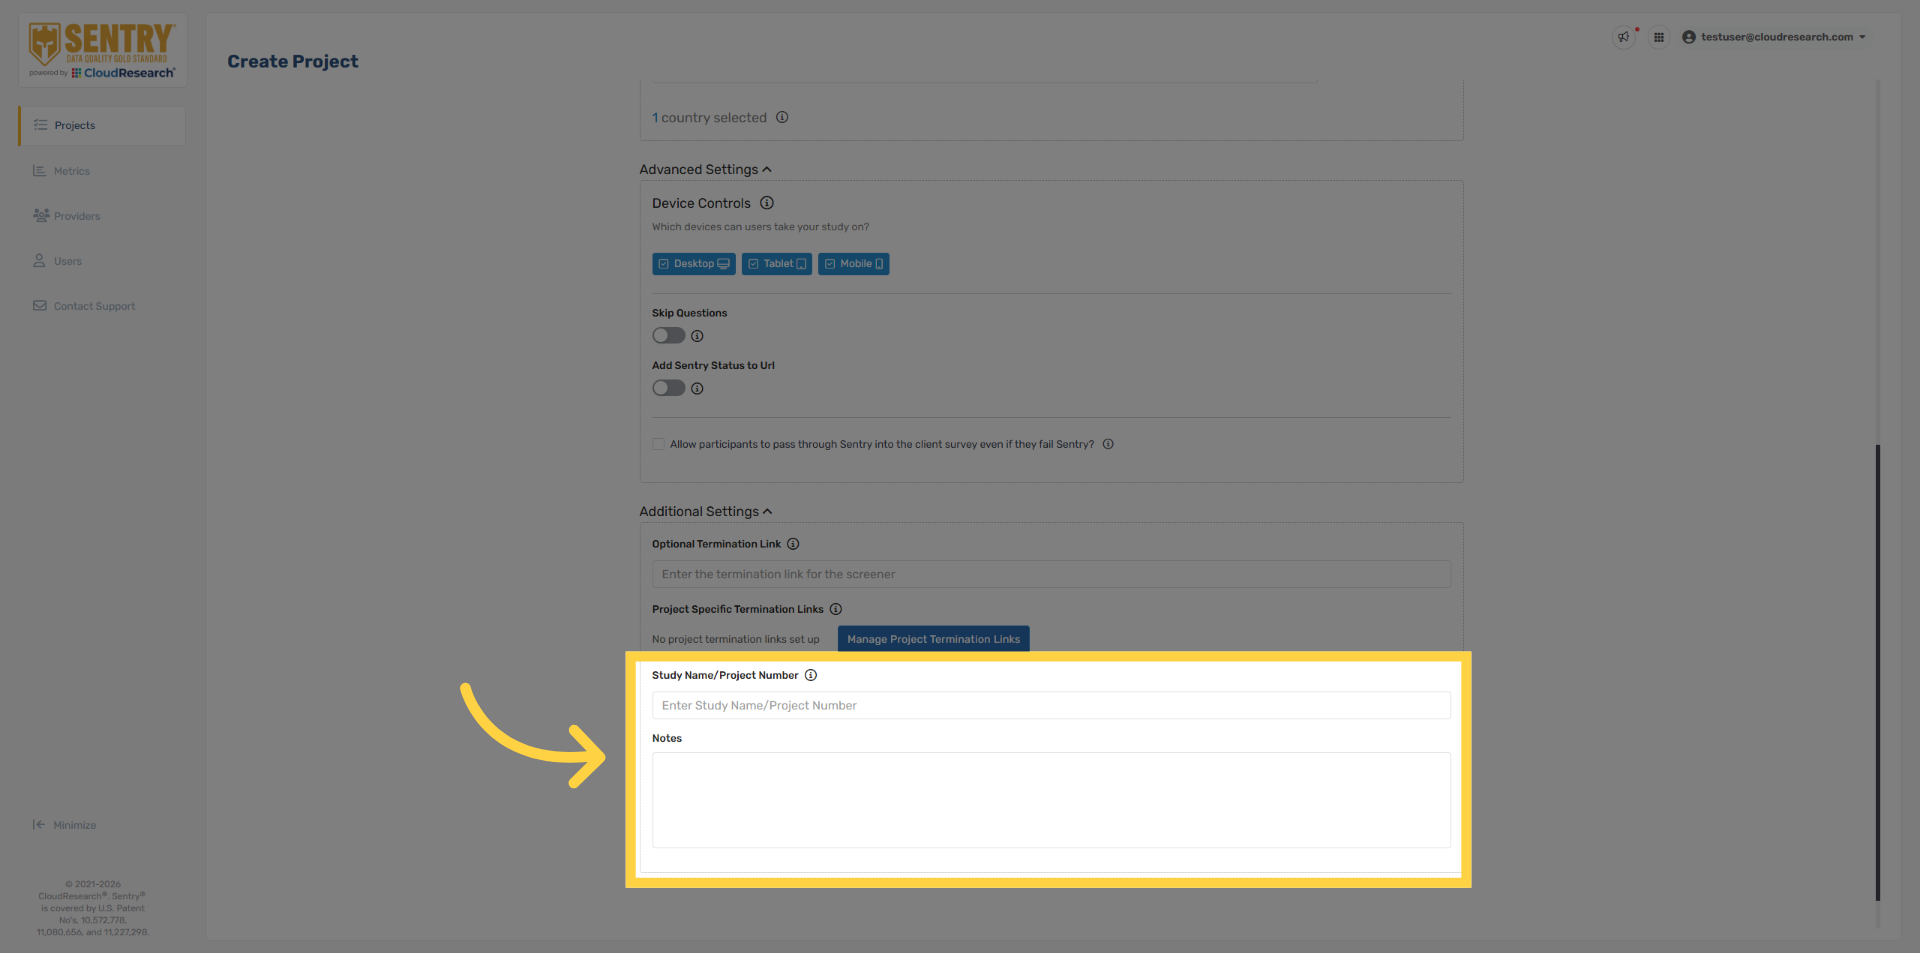
22. Project Notes
Finally, the Study Name, Project Number and Notes fields give you a place to store additional project information. This information is internal only and is not included in data exports or shown to participants.
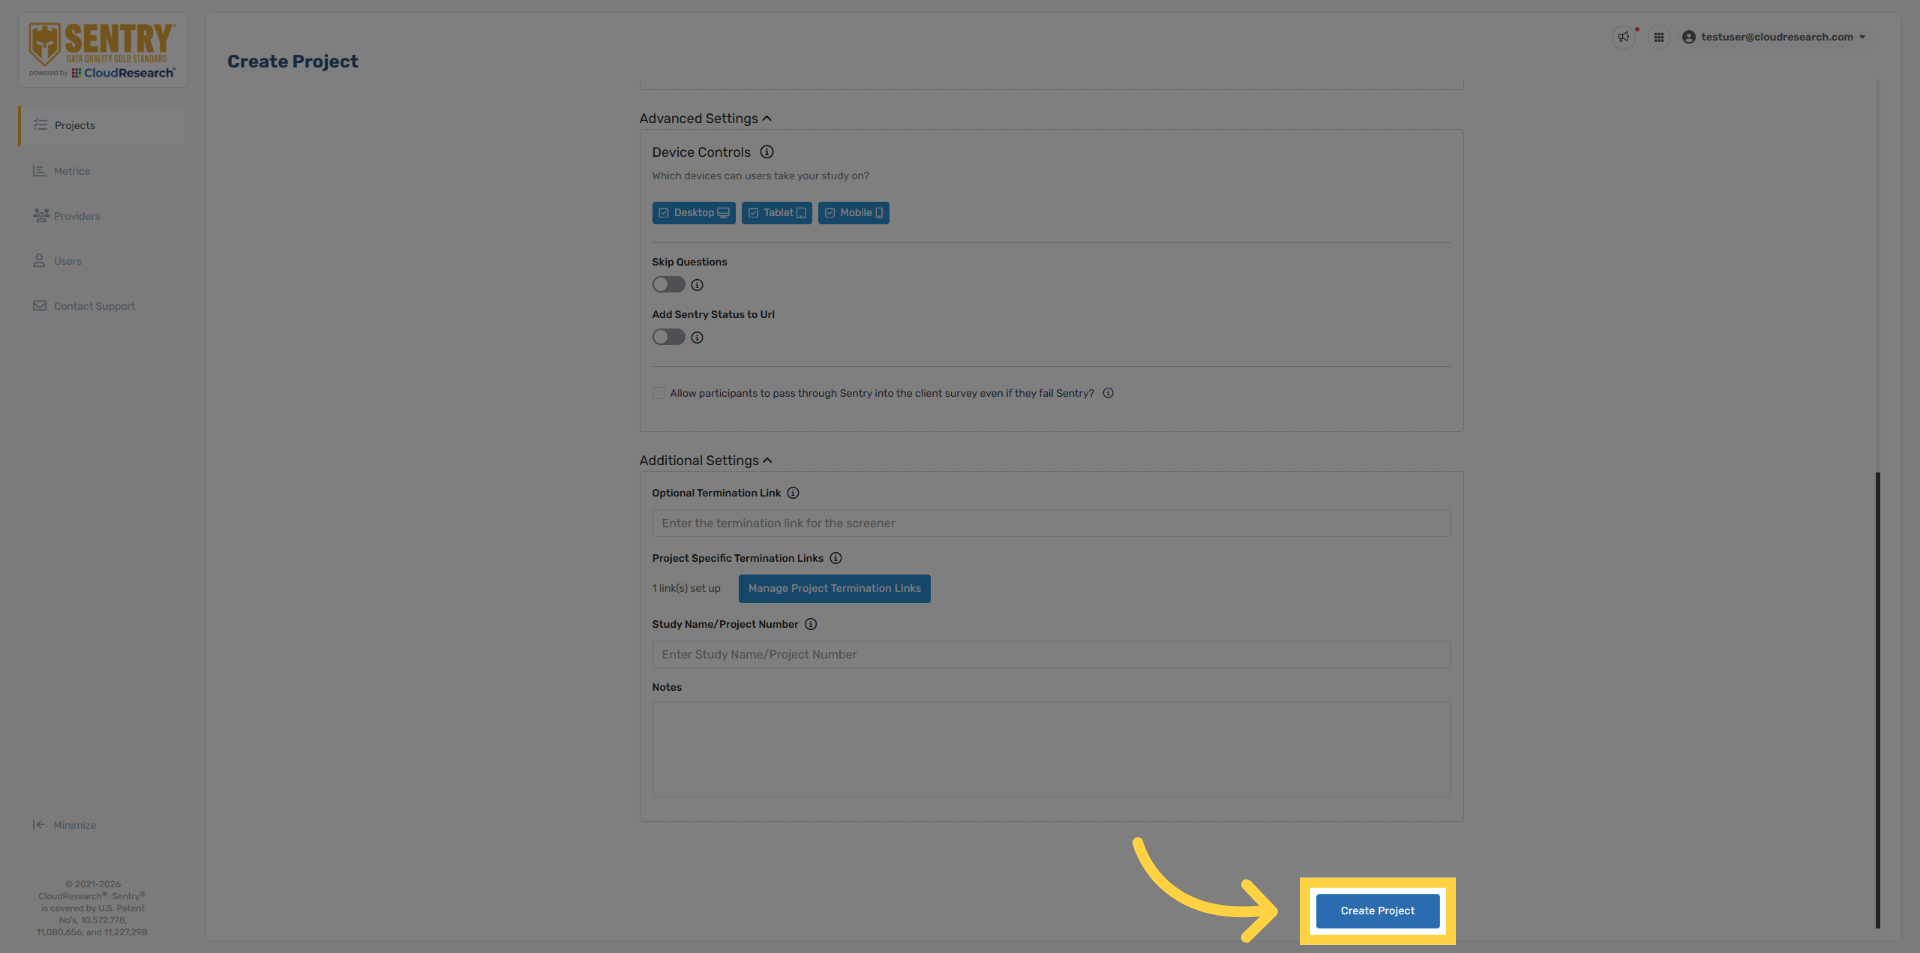
23. Create Project
When you’re finished configuring the project, click Create Project to finalize the setup.
24. New Project Available
The new project will now appear on your Sentry dashboard.
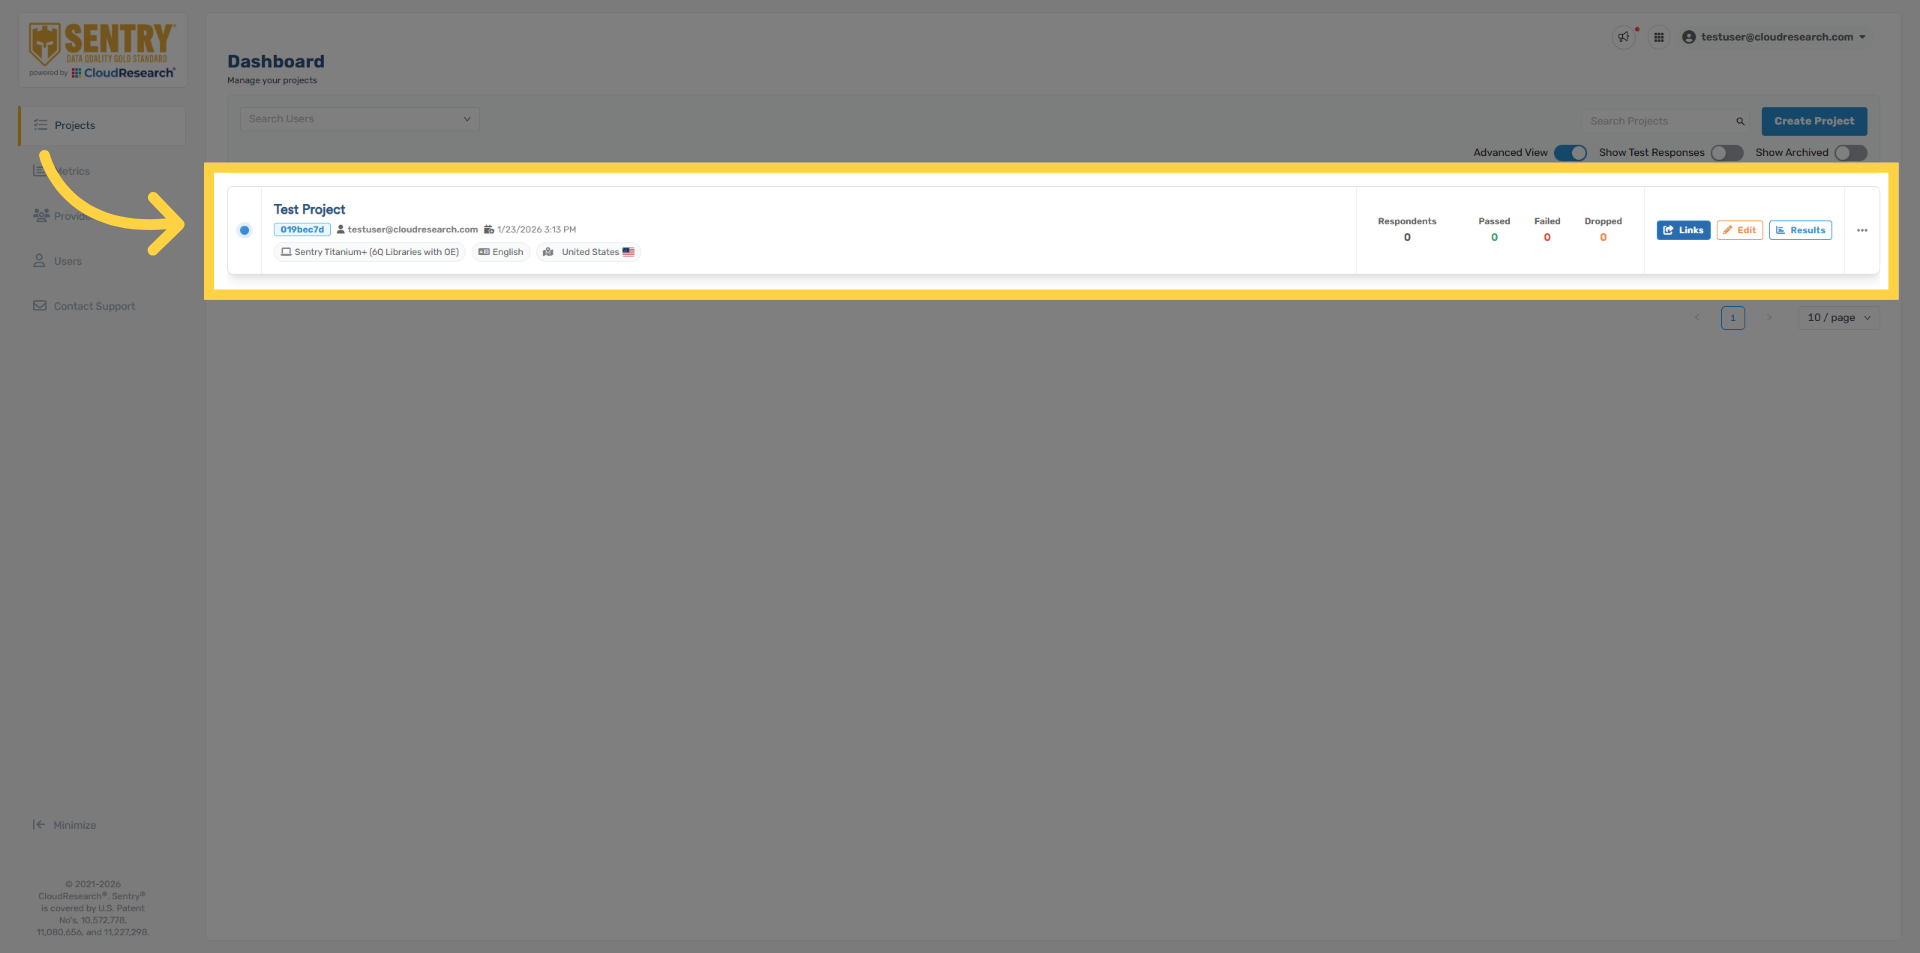
25. Ready to Launch
Once you’re ready to field the project, click Links on the project panel.

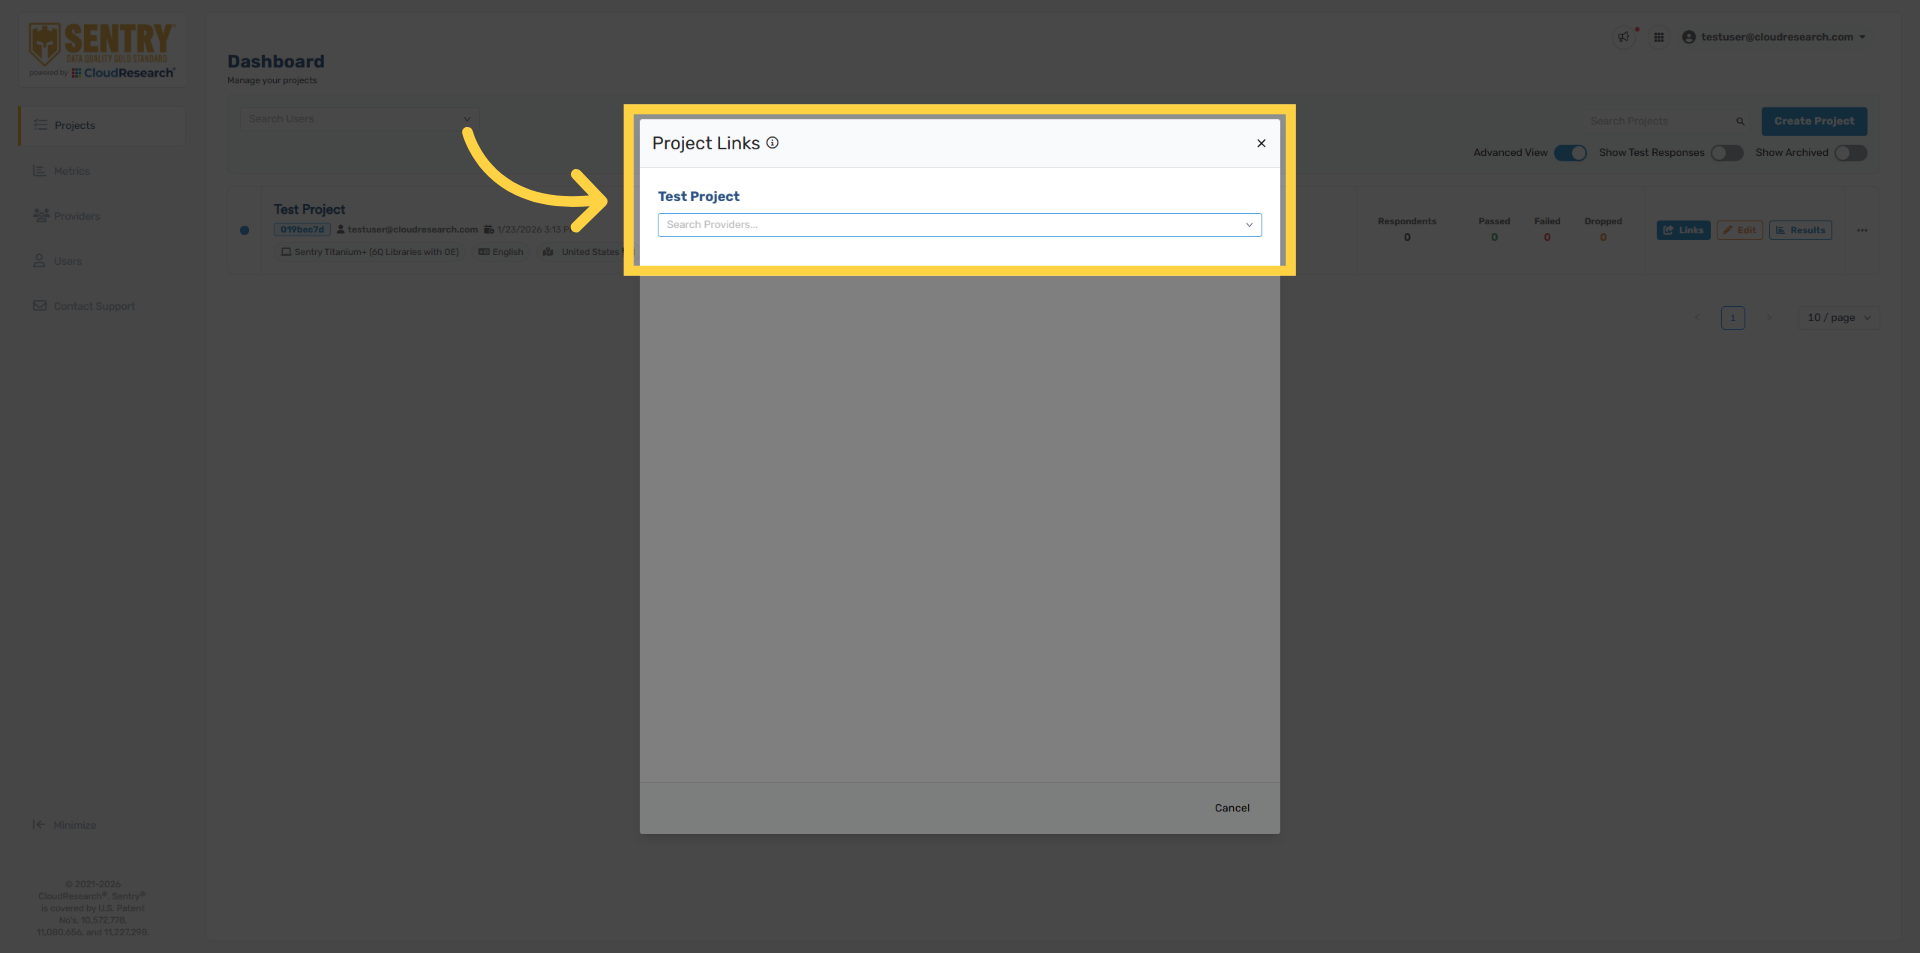
26. Select Provider Links
Use the dropdown to search for your sample provider
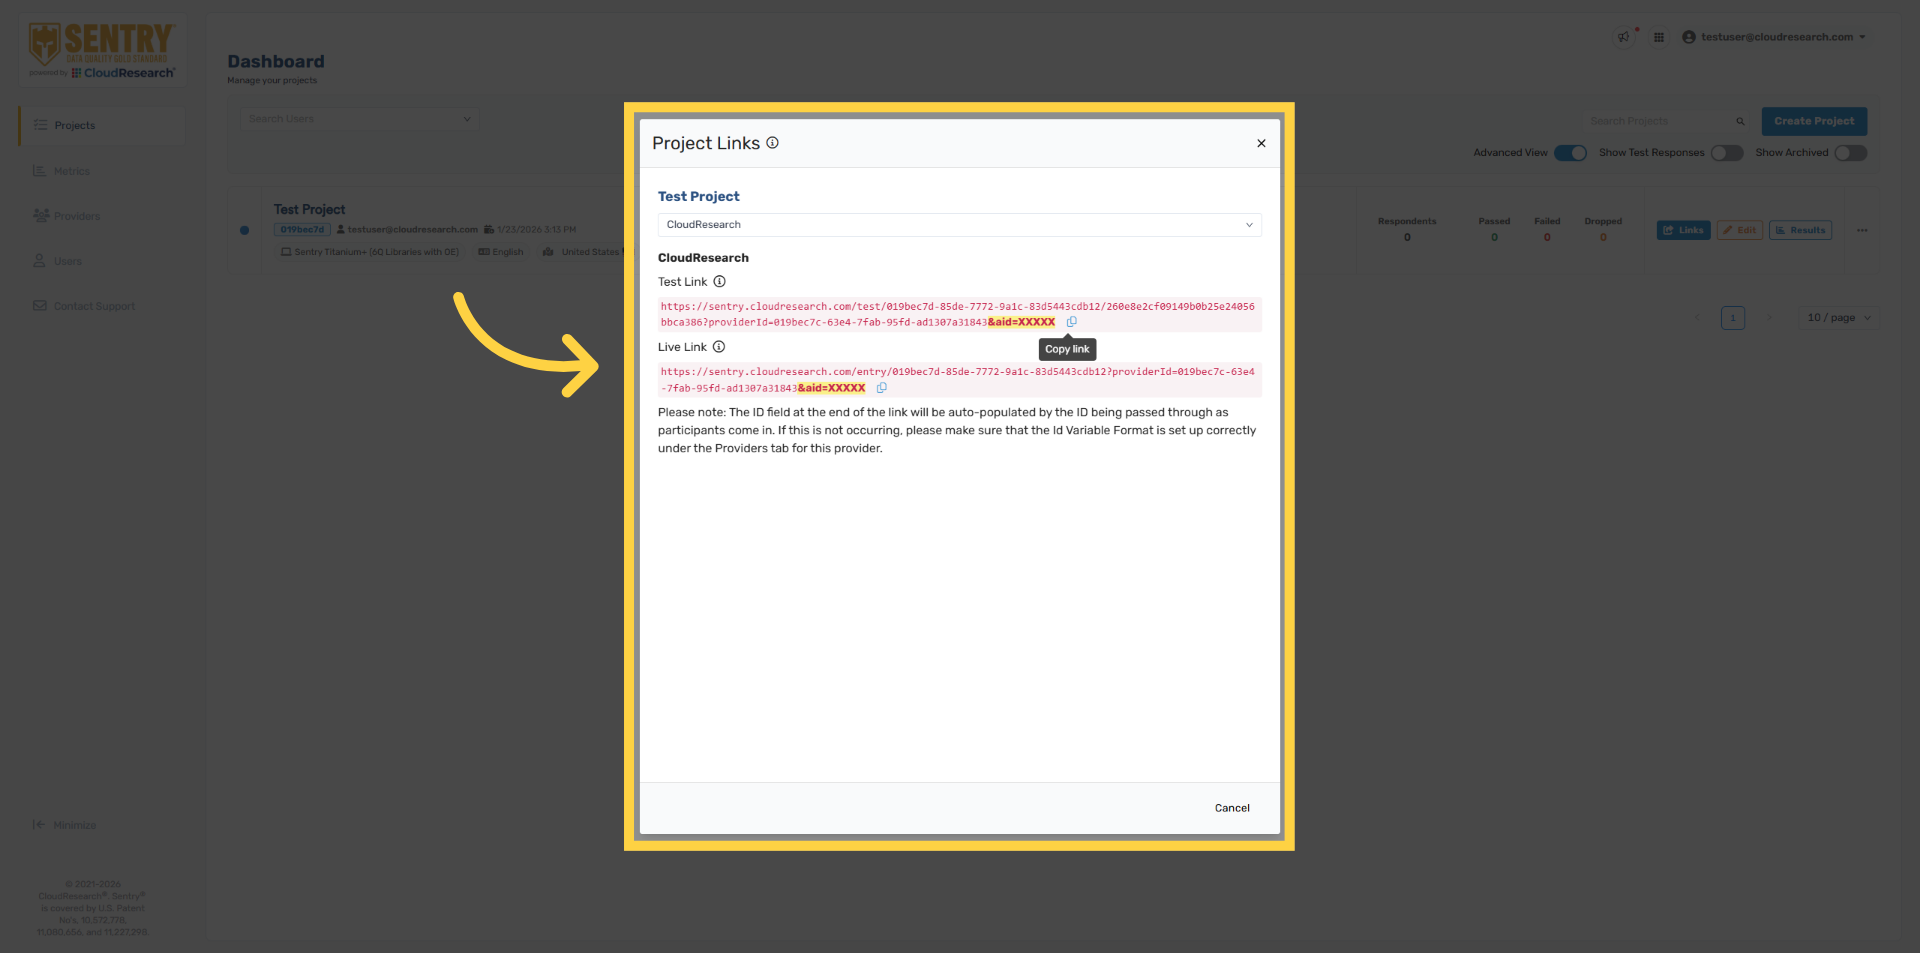
27. Access Project Links
Sentry will generate new survey links for you to share with your sample providers. Each provider receives a unique Sentry link. These links remain static and will not change if you make edits within the Sentry project. It’s important to share both the live Link and the test link with your sample provider. When testing, a unique respondent ID must be used for each test entry. The most common testing issues are caused by using the live link instead of the test link, reusing the same respondent ID across multiple tests, or not including the respondent ID variable in the URL.
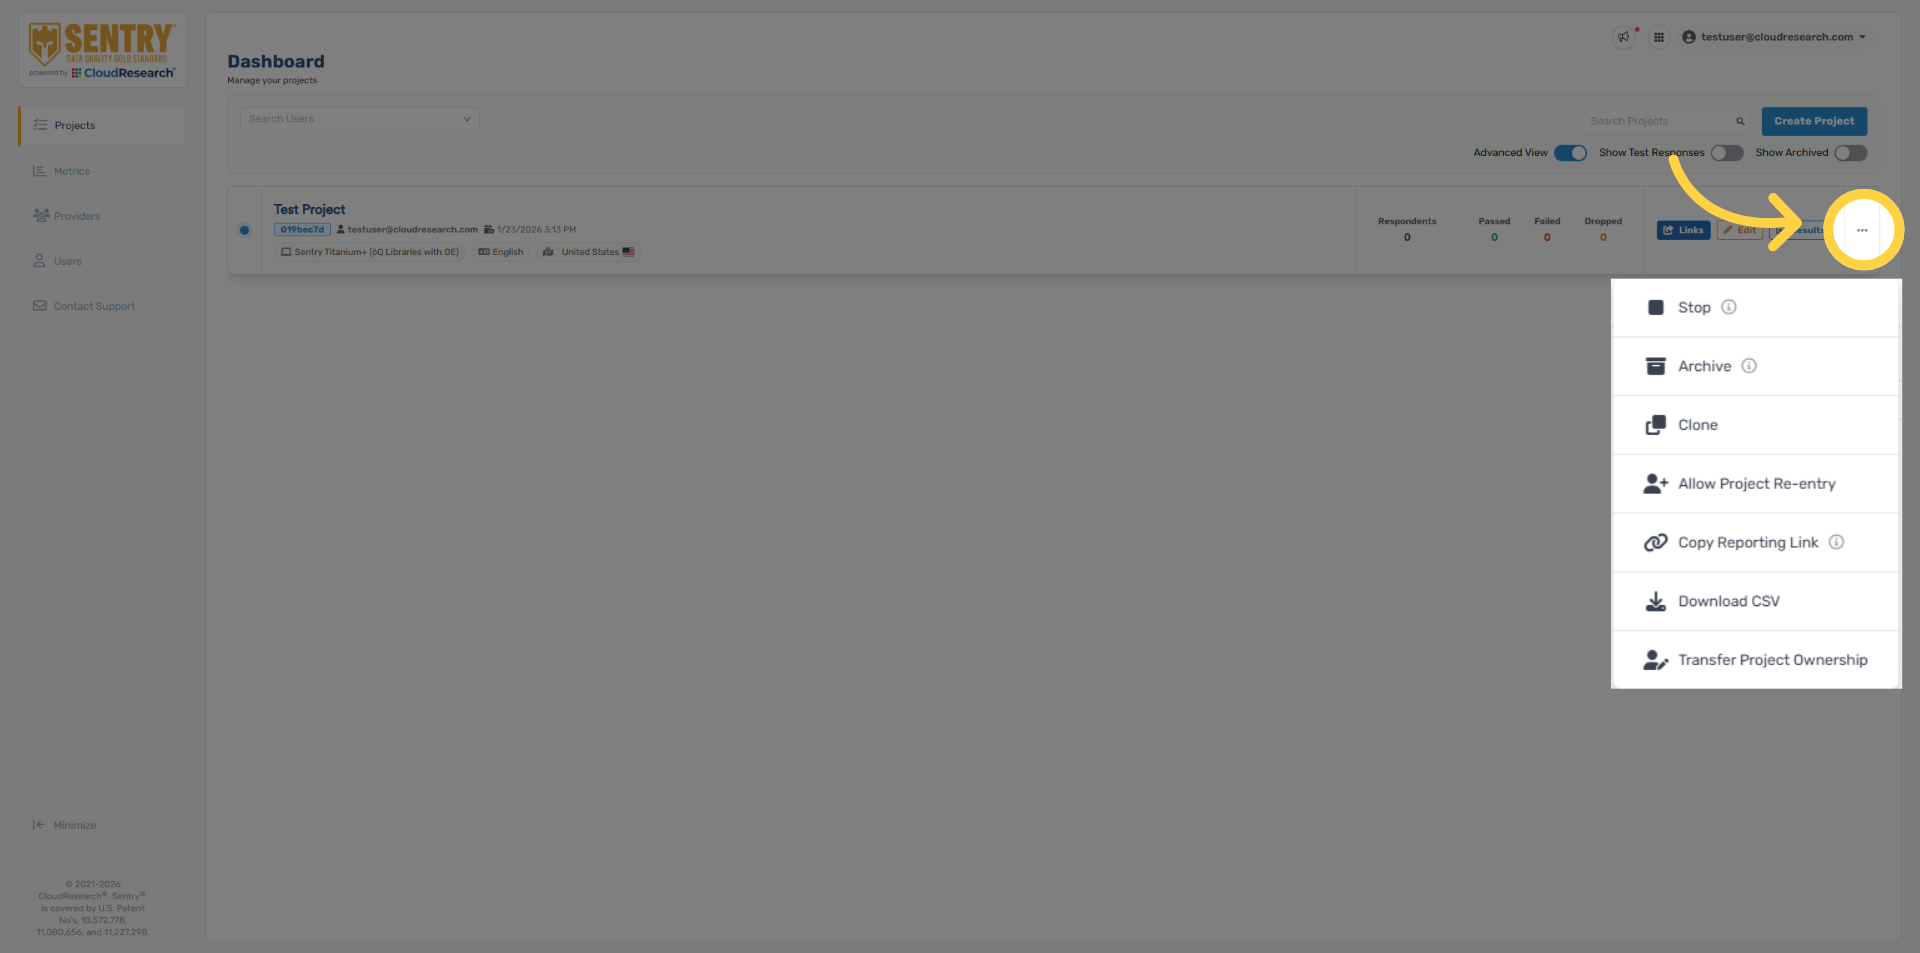
28. Project Ellipsis Options
Before we wrap up, note the ellipsis menu next to each project. This menu provides access to additional options, including cloning a project, downloading project data, and transferring project ownership. You’ll also find a Public Reporting Link, which is a shareable results page that can be accessed without a Sentry account...
You’re now ready to set up and launch a Sentry project. We look forward to helping you improve your data quality. If you have any questions, don’t hesitate to reach out to our support team. Thanks for watching.

Comments
0 comments
Please sign in to leave a comment.